Where do I begin? Ah yes, refinishing a wood porch floor is not for the faint of heart. Should you choose to take on this seemingly daunting task, and somehow make it through this long and tedious process, the results can be very rewarding. I recently conquered this mountain all while taking care of my demanding four month old and equally demanding husband. (Just kidding honey, I love you!) Apparently, I must be suicidal for taking on so much at one time. I am however happy to say I made it through alive and in one piece.
All joking aside, I found that the prep work is key to achieving amazing results. The best place to start is by pressure washing the wood. You want to remove as much of the old paint as possible and then allow for the boards to completely dry before moving on to the next step. (Be careful not to spray too closely to the wood or you will leave grooves). Next you will want to take a paint scraper and scrape away all the loose and flaky paint. Full disclosure, this part takes a while but is a necessary evil. Once you have successfully finished scraping you will want to sand the boards as best as you can. If you have large area to cover you might want to consider renting a professional drum sander for a couple hours to sand it down quickly (However, you will still need a handheld drum sander to get in all the tight spaces). Here’s a tip, don’t waste your time and money on a vibrating sander especially if your boards are in sad shape. The vibrating sander isn’t nearly as aggressive as the drum sander. Also, make sure you talk to the rental place about what grit you should use. You can also use a paint stripper (or make a home made wash using two parts water and one part bleach) to remove any excess oils or mildew but this is optional. (A word to the wise, and also your mother, don’t skip these steps. If you do, your paint might flake off, crack, blister from all the abuse it takes. There are still no guarantees but you stand a much better chance of having it last if you don’t cut corners.)

Shew! After all of that now you have a clean surface to work with and you can begin prepping for paint. First, you will want to tape off anything close to the floor you don’t want paint on (ex. brick on the house, the post on the screened in porch, rails, banisters on a deck) and it will help you go much faster. Okay, you are ready to begin painting! I would recommend starting with a great exterior primer (The bare wood will absorb a lot of the paint and primer is cheaper). With a brush you will want to trim out the perimeter where the roller will have trouble reaching.

Now that you finished with this step you will want to have ready a roller and preferably an extension poll (You want to paint your porch, not break your back!). At this point go ahead and roll on your coat of primer. ATTENTION: This is really important. When painting or staining a floor, ALWAYS leave yourself an escape route!!!!!! (Unless you’re a performer for Cirque Du Soleil or a ninja.) 
Primer paint is on and now we wait, and wait, and wait some more (around two and three hours).  During this time I would probably be running around like a crazy person trying to feed my baby, change poopy diapers, and squeeze in everything else I had to do that day. Anyways, getting back to our project here. Let’s talk paint! All paints are not created equal. Unfortunately, you cannot use just any ol’ paint. I used an exterior porch and floor paint and had it tinted to the hue that I selected. If you talk to a paint specialist at your local home improvement store I’m sure they will advise you to use the same. Seeing that porch and floor paint is specifically formulated for this type of application. The hue I selected was a gray with a brown undertone to marry together the cool tones of the house trim and warm tones of the brick. So, when selecting a hue remember to keep in mind that all the hues on your exterior need to correlate. Okay, got your paint? Great! Go ahead and trim out the perimeter like you did once before with a clean brush. Then, you guessed it, roll on the first coat of color with a fresh roller pad. Once dry, (again allow two to three hrs in between each coat) rinse and repeat! (Just kidding about the rinsing part.)
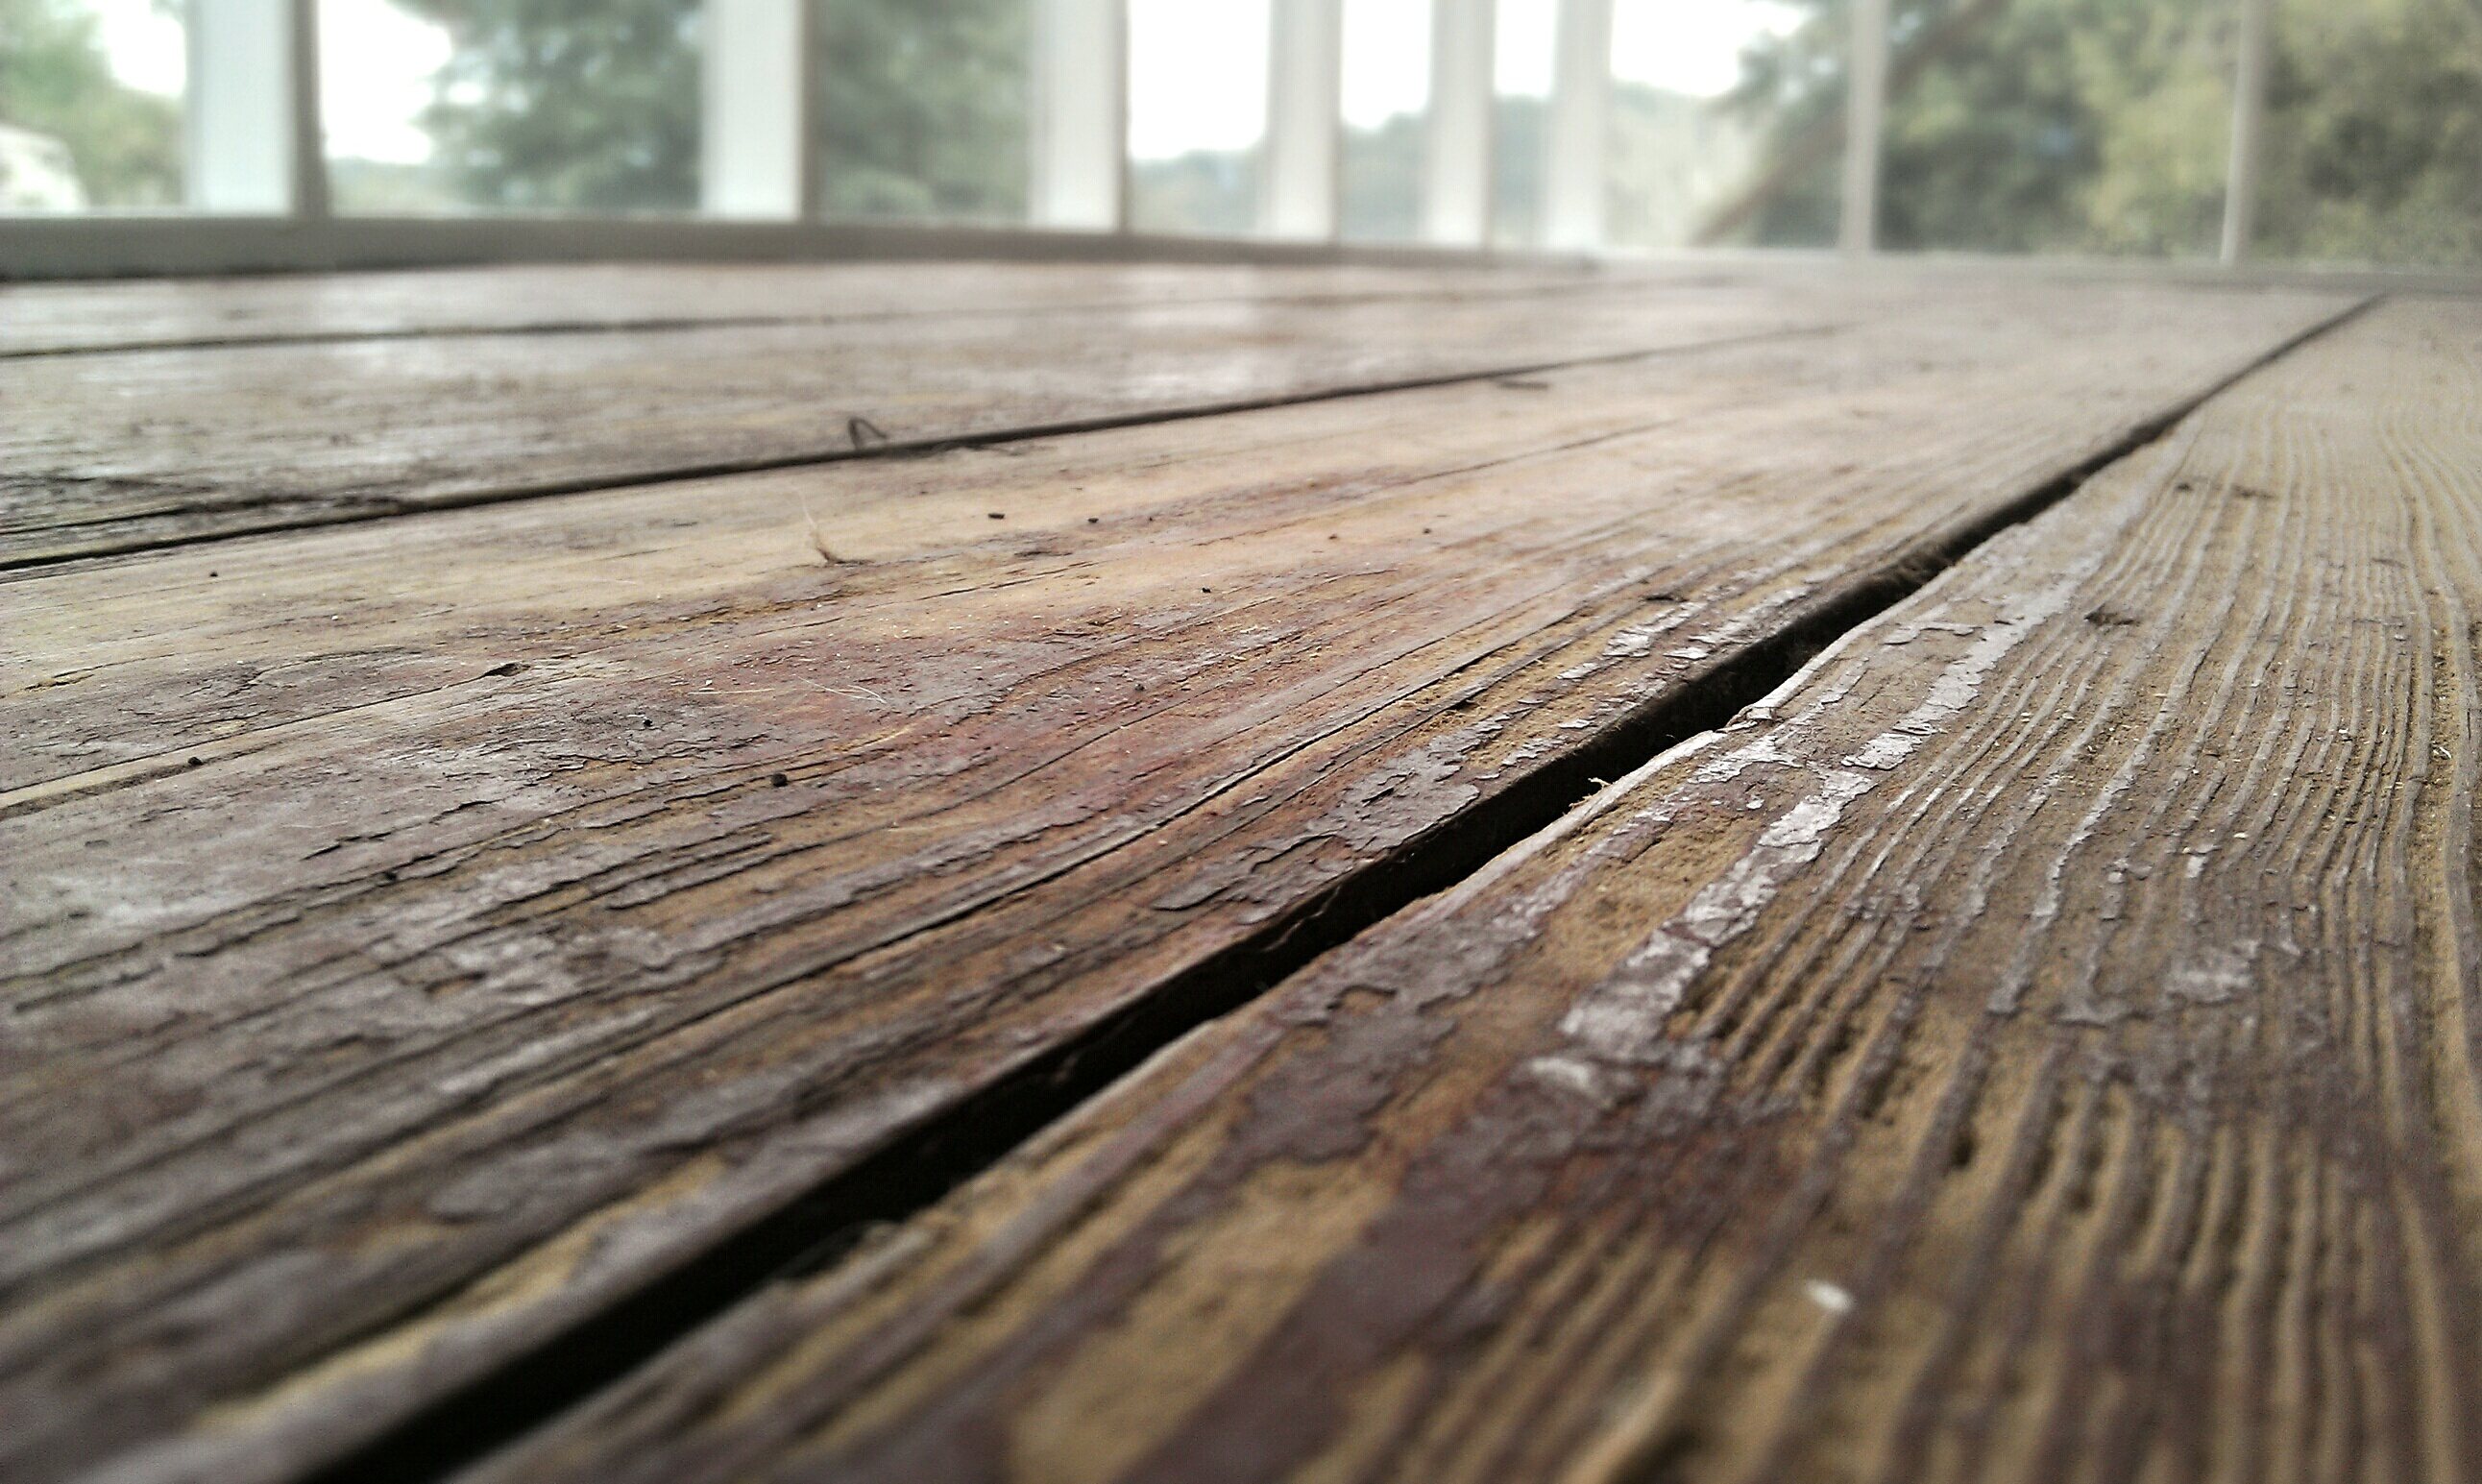
Now your floor should have evolved somewhat like this:


Normally, this would be the end of the process. However, being a designer I had to take it one step further. I just can’t help myself! Haha! So, I came up with the concept that would give the floor a warm and inviting appeal. I wanted it to look like the floor was actually a rug. After some much debating I decided to go with a moroccan theme and created a custom medallion stencil. I drew my stencil out on heavy duty paper and cut out the design with an exacto knife. I measured to find the center of the floor and taped my stencil down with painters tape.
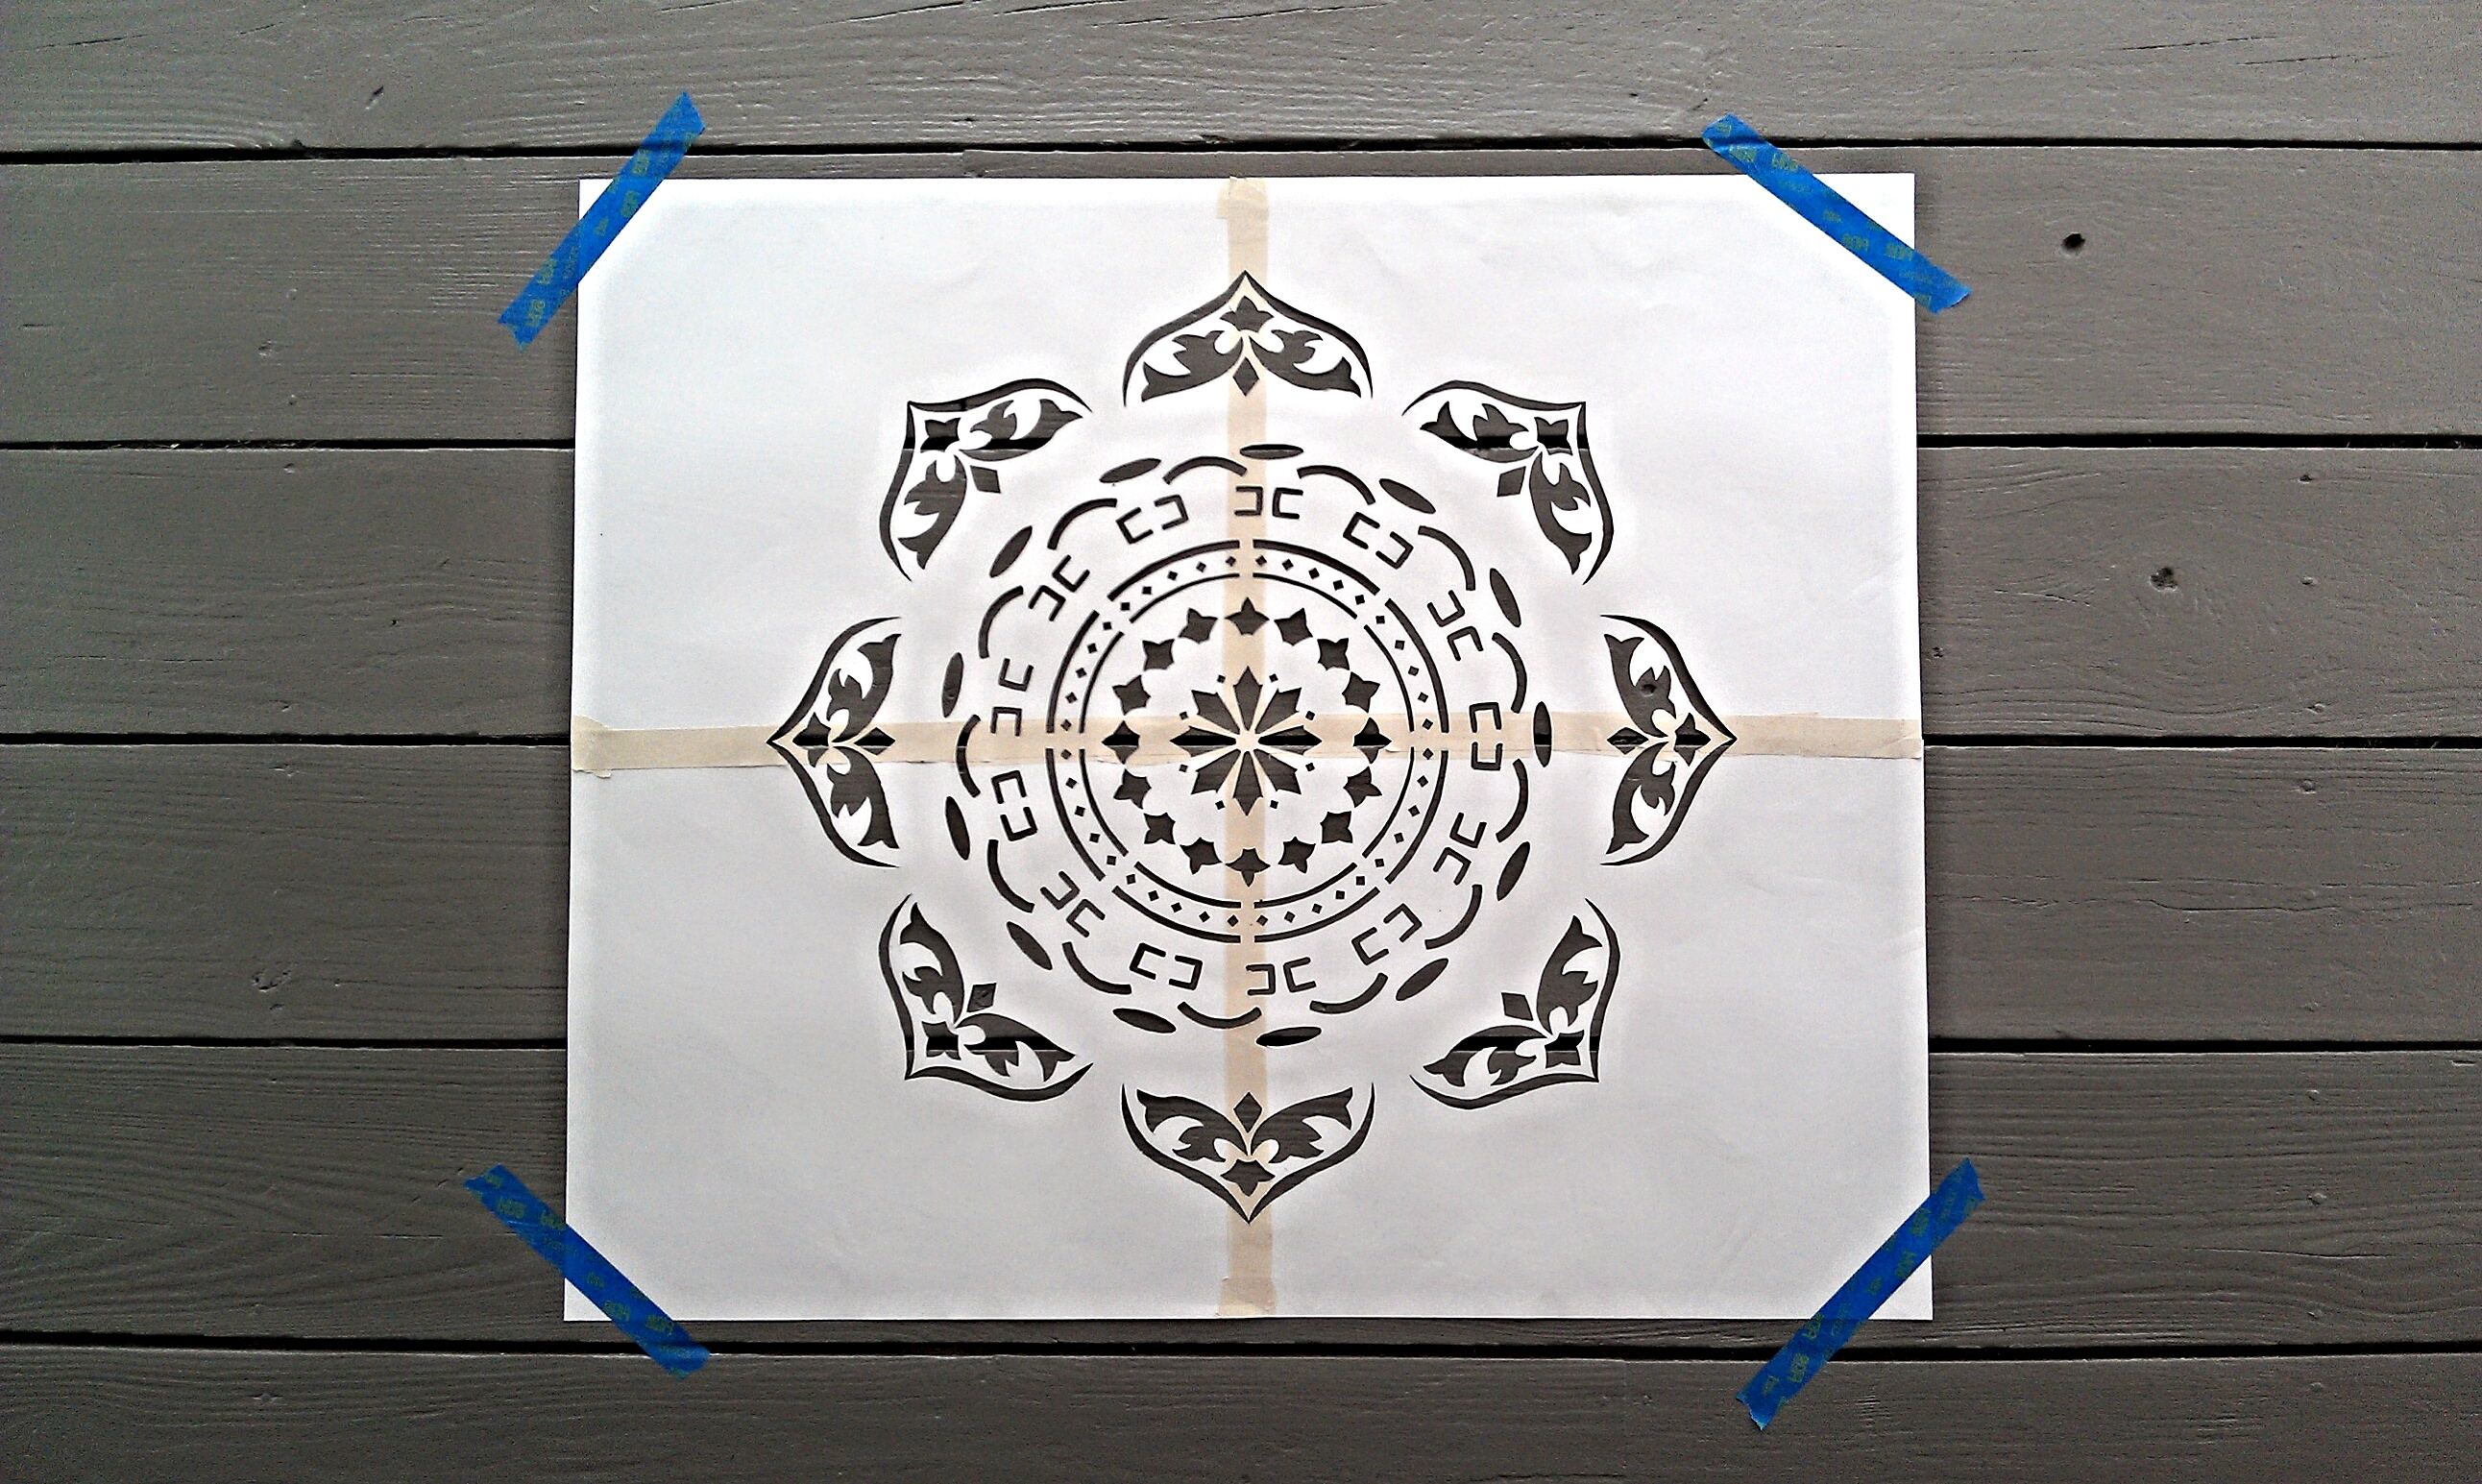
(If you don’t want to fool with creating your own stencil you can always purchase a stencil with the design of your choosing.) After I taped it down I used a small one inch brush (you can also use a foam stencil brush) to paint with. Here is a tip to save a few green backs. Instead of buying more paint, simply mix a little of your leftover paint hue with some of the exterior primer paint you already have, to create a lighter tone of your hue. Pour it into your leftover paint tray, dip the tip of your brush in, and dab the brush on the upper part of the tray. This will knock off excess paint. You don’t want to load up your brush because too much will bleed under your stencil. Then in a dabbing, up and down motion, apply the paint to the open areas of the stencil. Note: You always want to work from the inside out. Once you have painted the entire stencil go ahead and remove it. I then used my stencil again for the corners of my floor by cutting it into four quadrants and placing one piece into all four corners. (Don’t forget to tape those down as well.)


(Always remove stencils slowly and with care.)

As I peeled off my last stencil I breathed a sigh of relief knowing I was finally finished. My design had come together and I could take comfort in knowing that unsightly porch I started with was a thing of the past. I can’t wait to invite the family over to enjoy it. Good luck to you on your own project! Check out the before and after photos below!!!
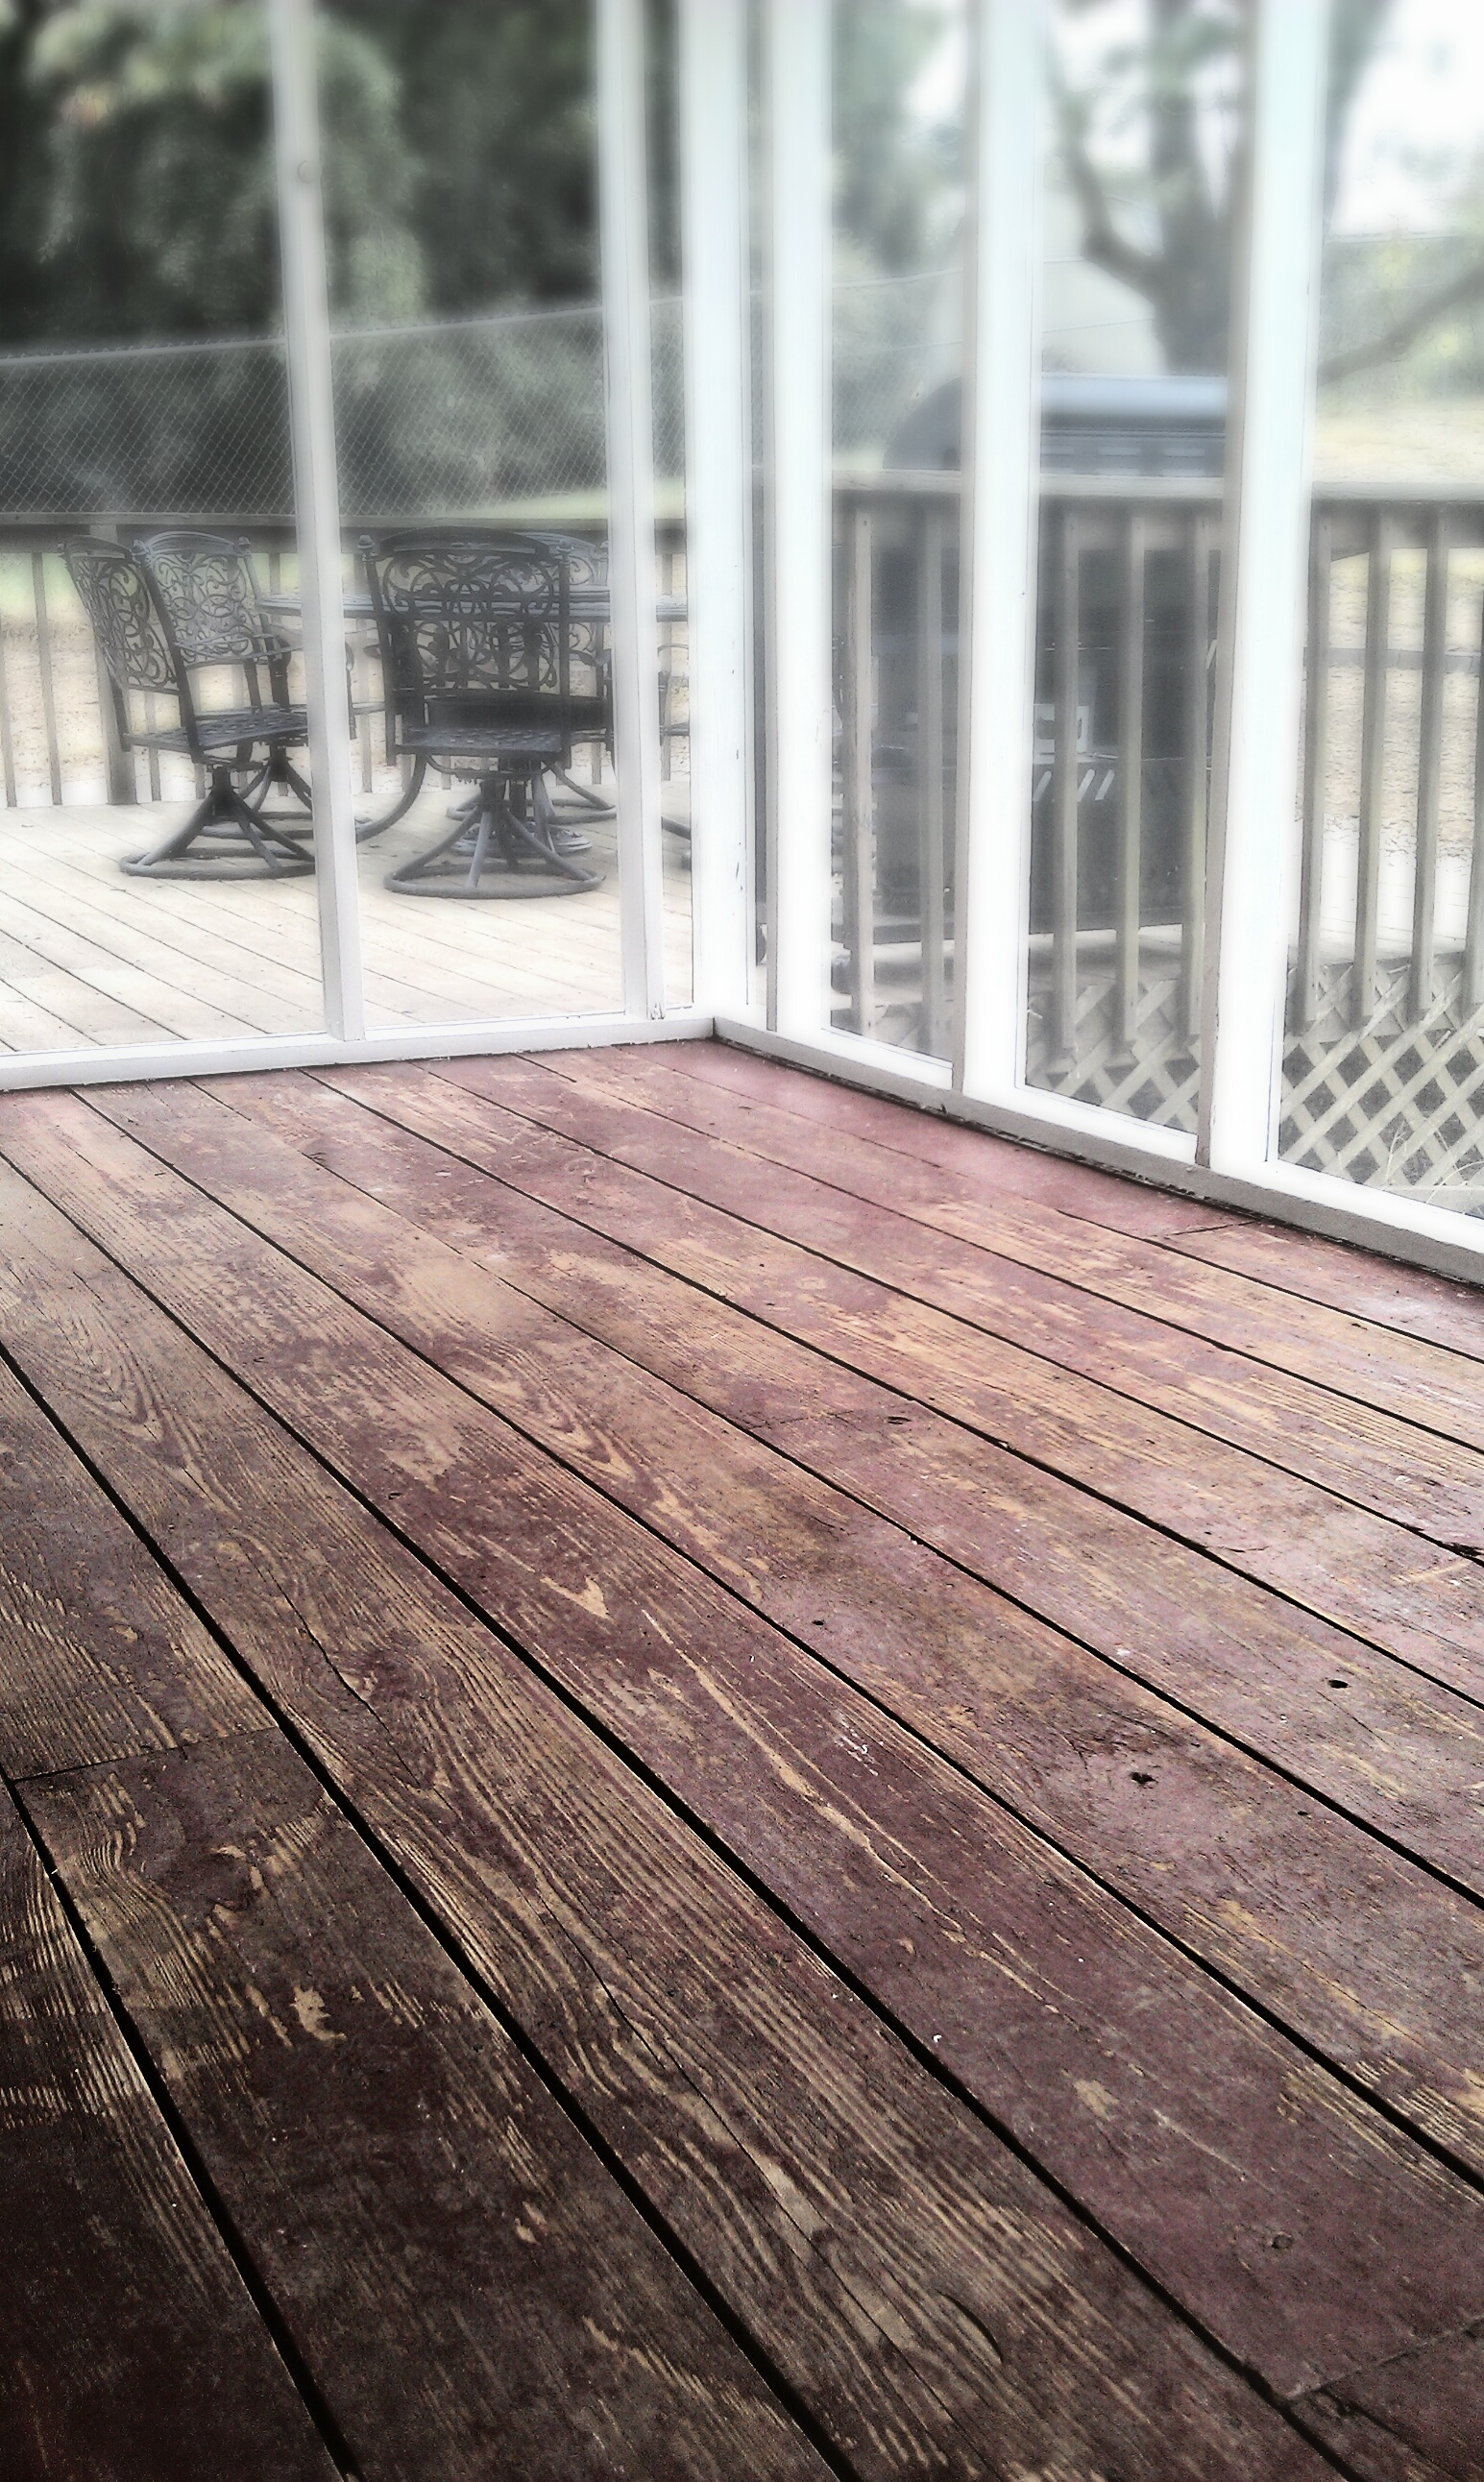
Before

After
Mama’s little helper!