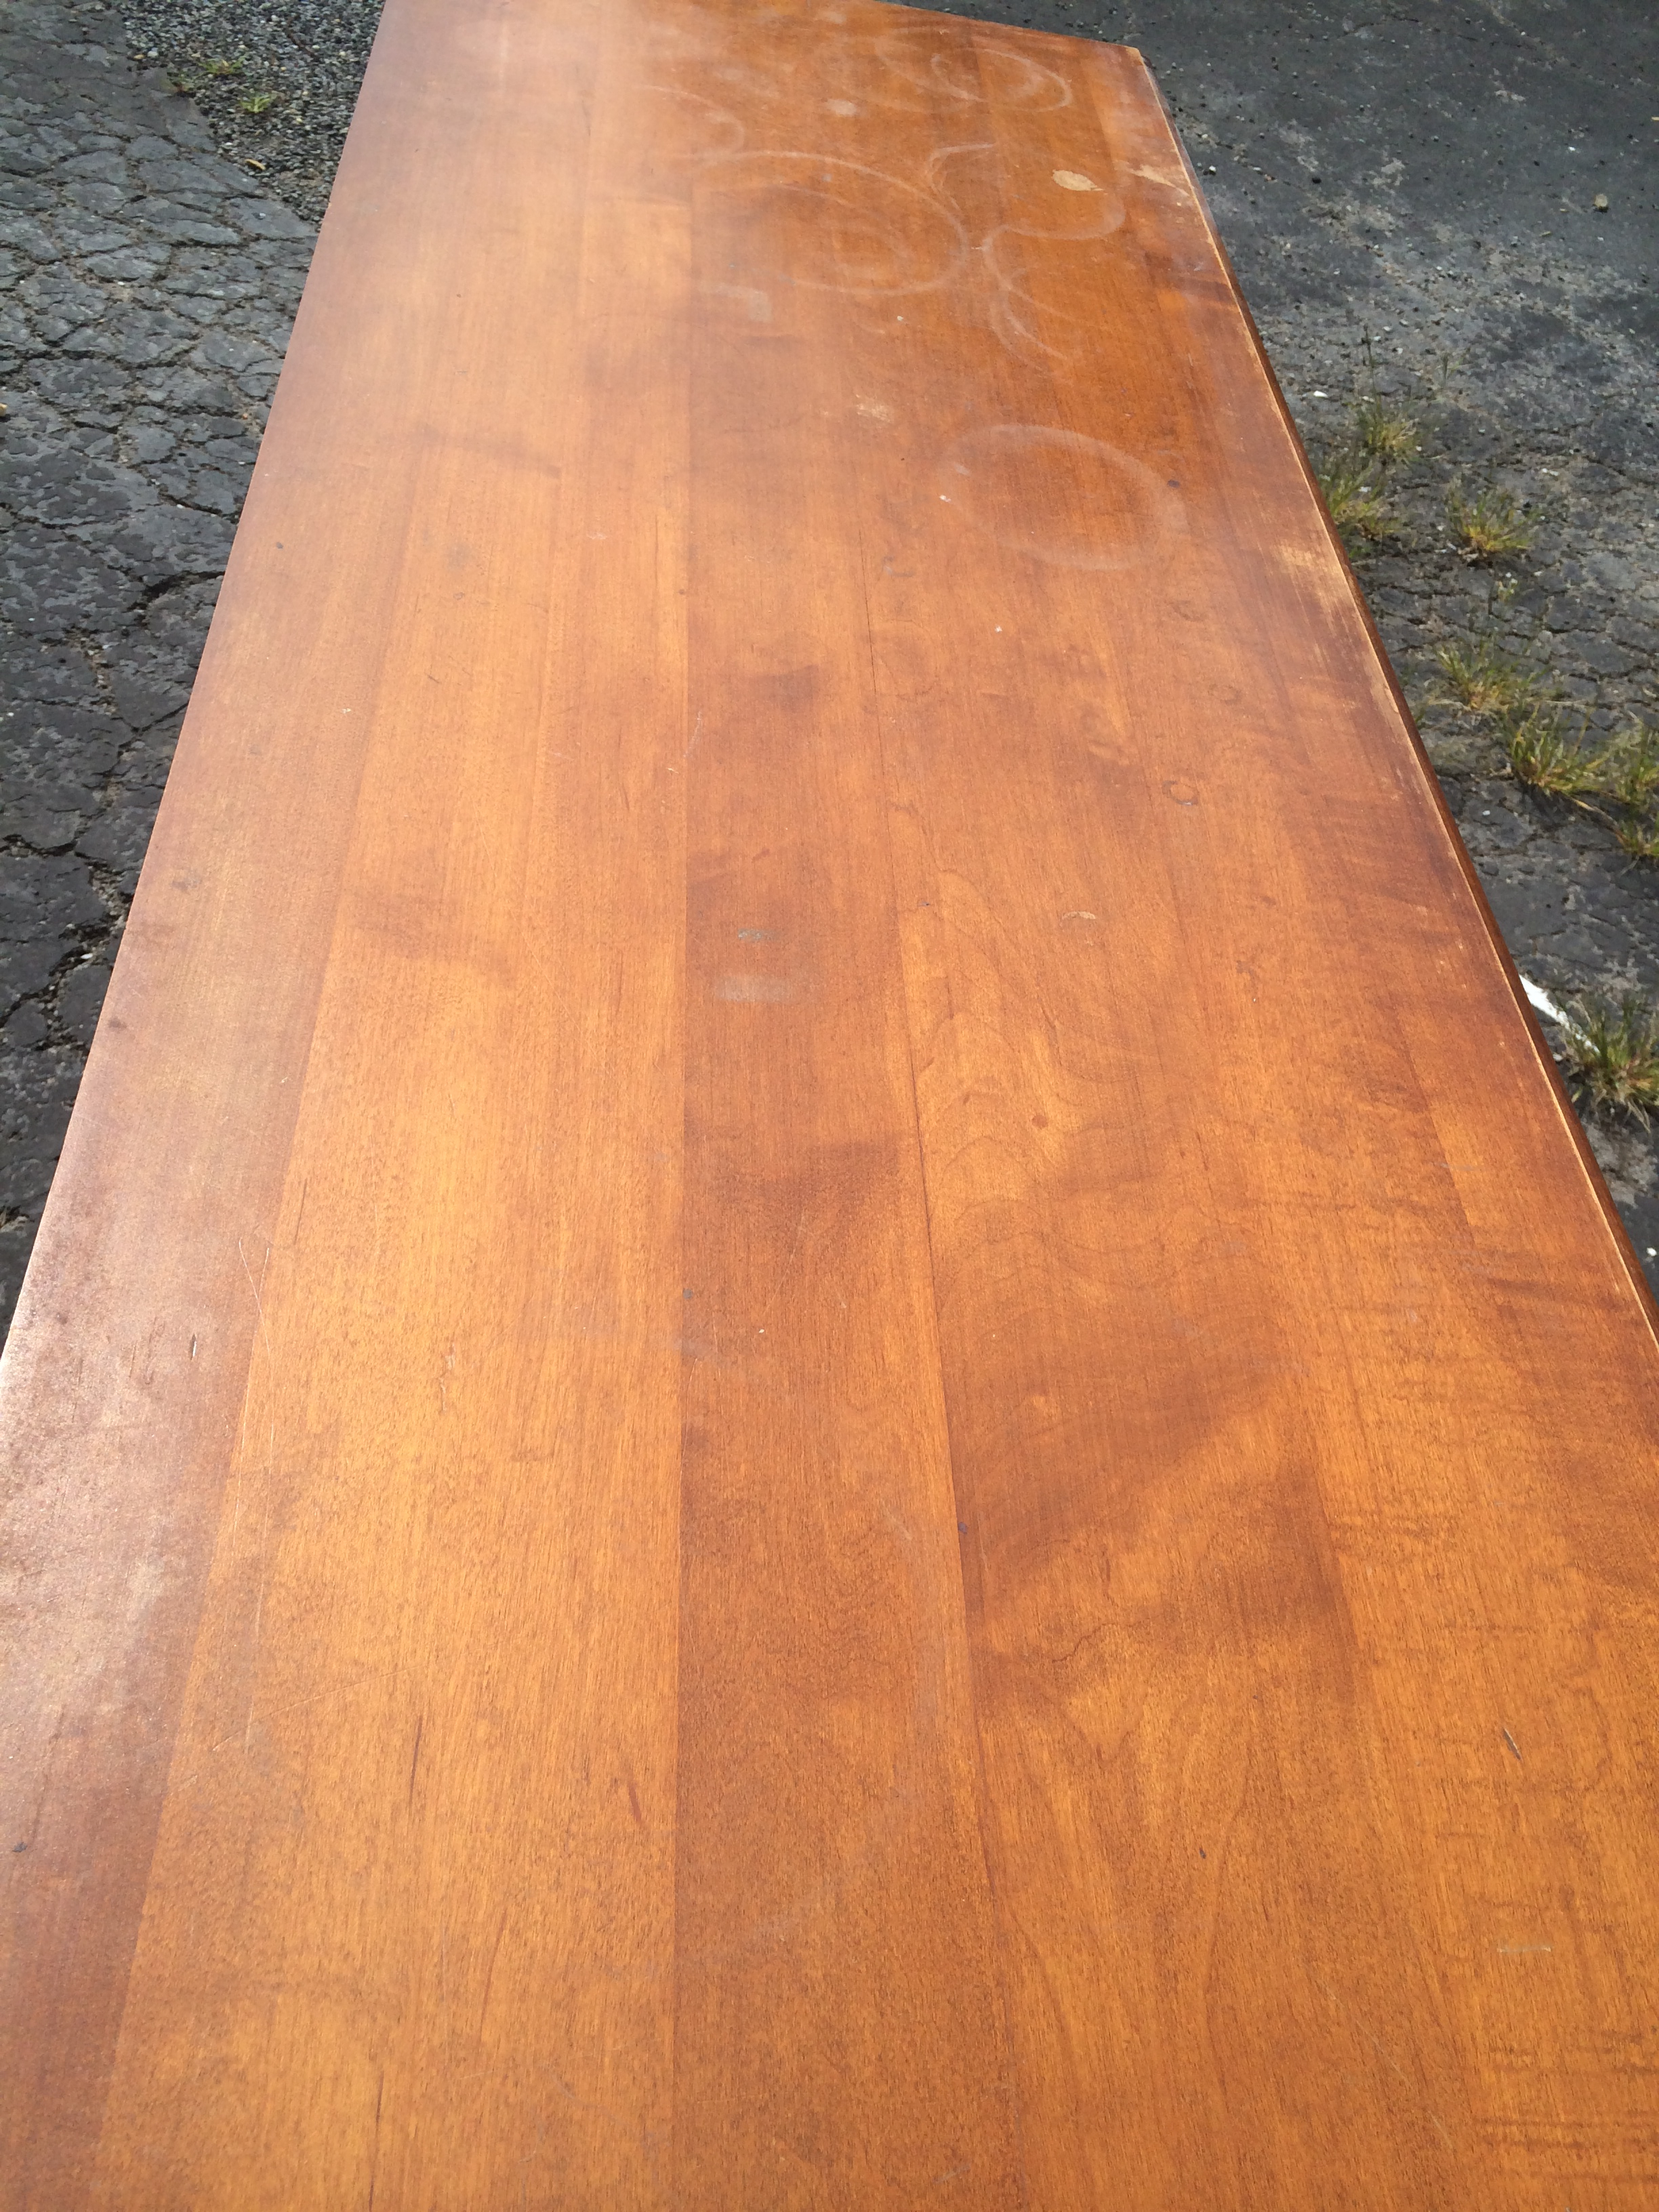
So, I have heard of people using steel wool and white vinegar and have always wanted to try it. I thought to myself why not now. I had just scored this amazing buffet from craigslist. A ‘Tell City’ piece constructed of solid hard rock maple for only $55 green ones!!!! It had plenty of wear and water stains. The original stain was a bit on the orange side and wouldn’t go with my decor at all. However, the overall integrity of it was fully preserved. It was the perfect candidate for my little science experiment. Muhahahaha!!!
Now wait a ‘dawg’ gone minute, what is it?
For those of you who haven’t heard of the whole steel wool and white vinegar thing, let me break it down for ya. Basically, it’s an oxidation process that gives the wood an aged look, much like reclaimed wood. It can take on different colors depending on the type of wood used, how long it steeps for and how many times you apply it. (Mostly it takes on an ashy brown or gray look) The more tannins your wood has the more saturation you will end up with. If your wood has low tannins there are a couple tricks you can do to get a better finish. You can brew either black coffee or black tea and apply it to your wood first before your steel wool and white vinegar solution. I’ve heard the black tea gets better results. (You can do a small test application somewhere you won’t see it.)
How do I make this steel wool & white vinegar solution?
You will need a large bottle of white vinegar, a bag of very fine steel wool #0000, and an old jar with lid. Using a couple of hunks of steel wool, tear it up into small pieces, and place them into your jar. Fill your jar with white vinegar all the way up, seal your lid, and let it steep for about three or four days. Give it a little shake shake every so often. This will help speed up the process. (At this point singing Luke Bryan’s Shake it for me girl is entirely optional.) The steel wool will break down in the white vinegar and your solution will be ready to go. (*Note: You can keep the solution to reuse anywhere from 6 months to a year. However, if the mixture starts to take on a ‘rusty’ look simply dilute it with more white vinegar.)
How do I apply it?
Just like you would a wood stain. You can use an old cloth, a brush, or a sponge brush. It’s really up to you. I used an old rag for my solution. Then allow your wood to fully absorb the solution ( I only applied one coat). Lastly apply poly like you would over top of a stain (for this I used a sponge brush). Then do your happy dance! (cue Luke Bryan again!)
- Directly after contact

5 minutes after
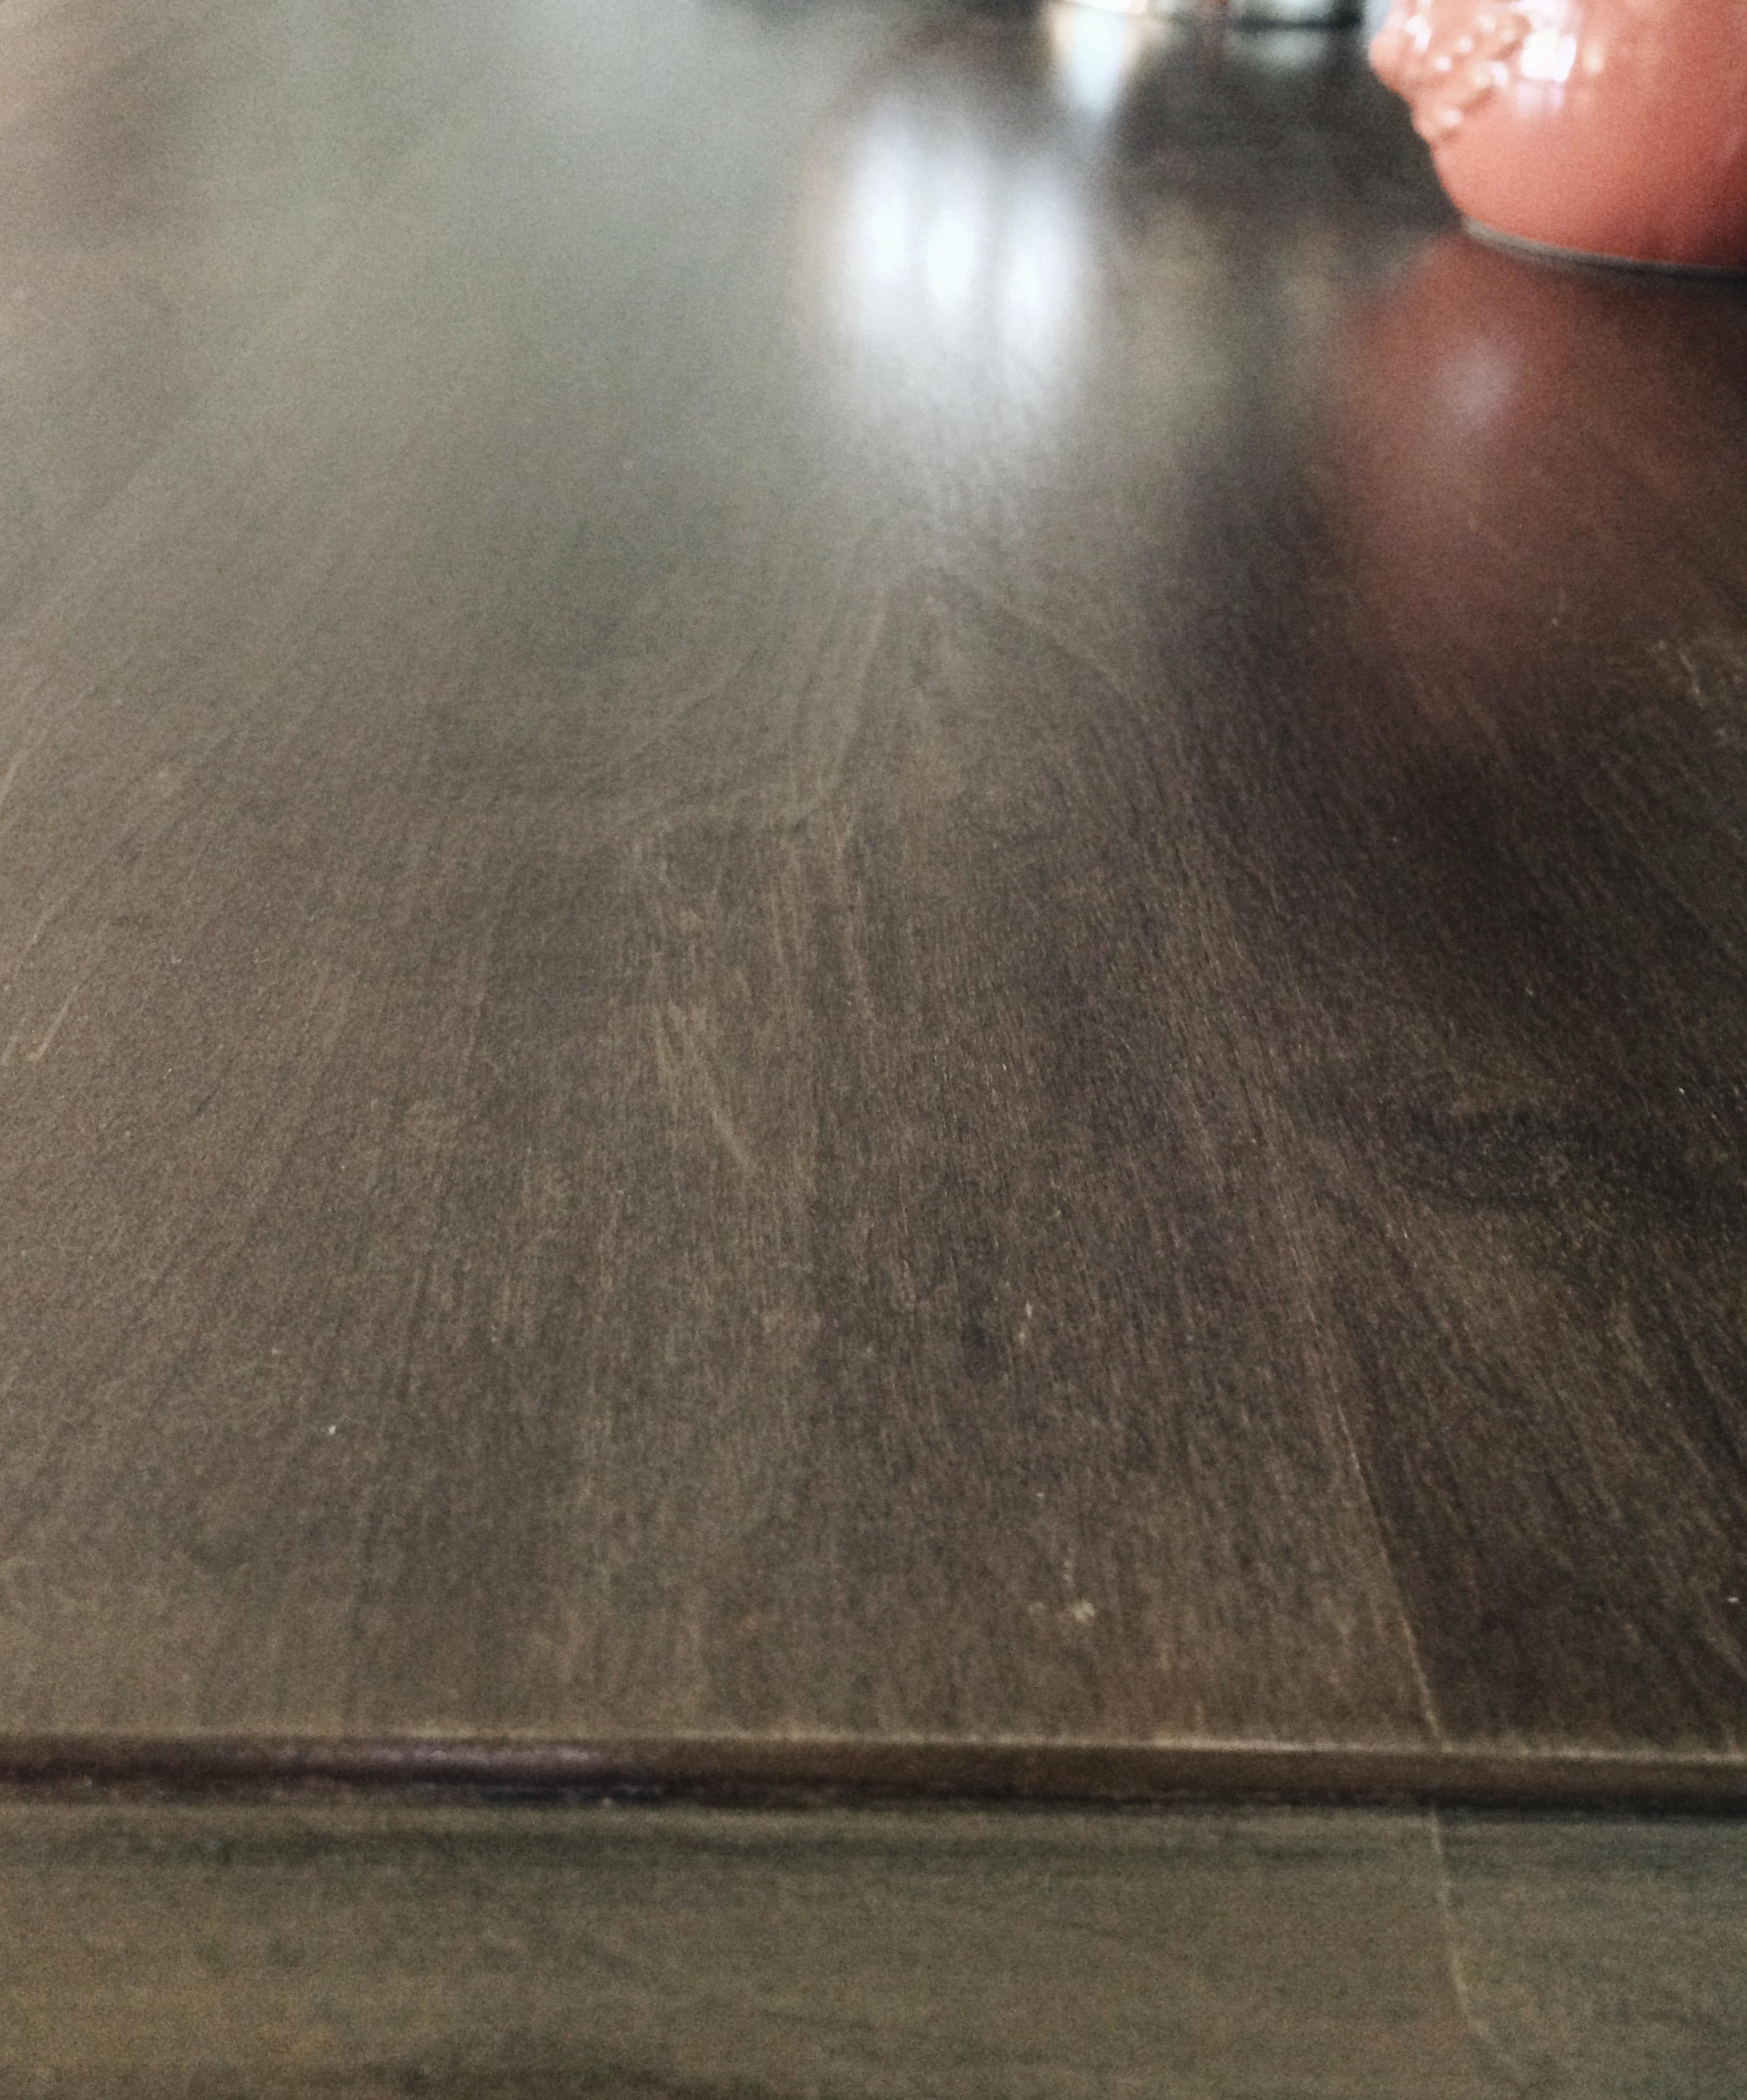
The day after
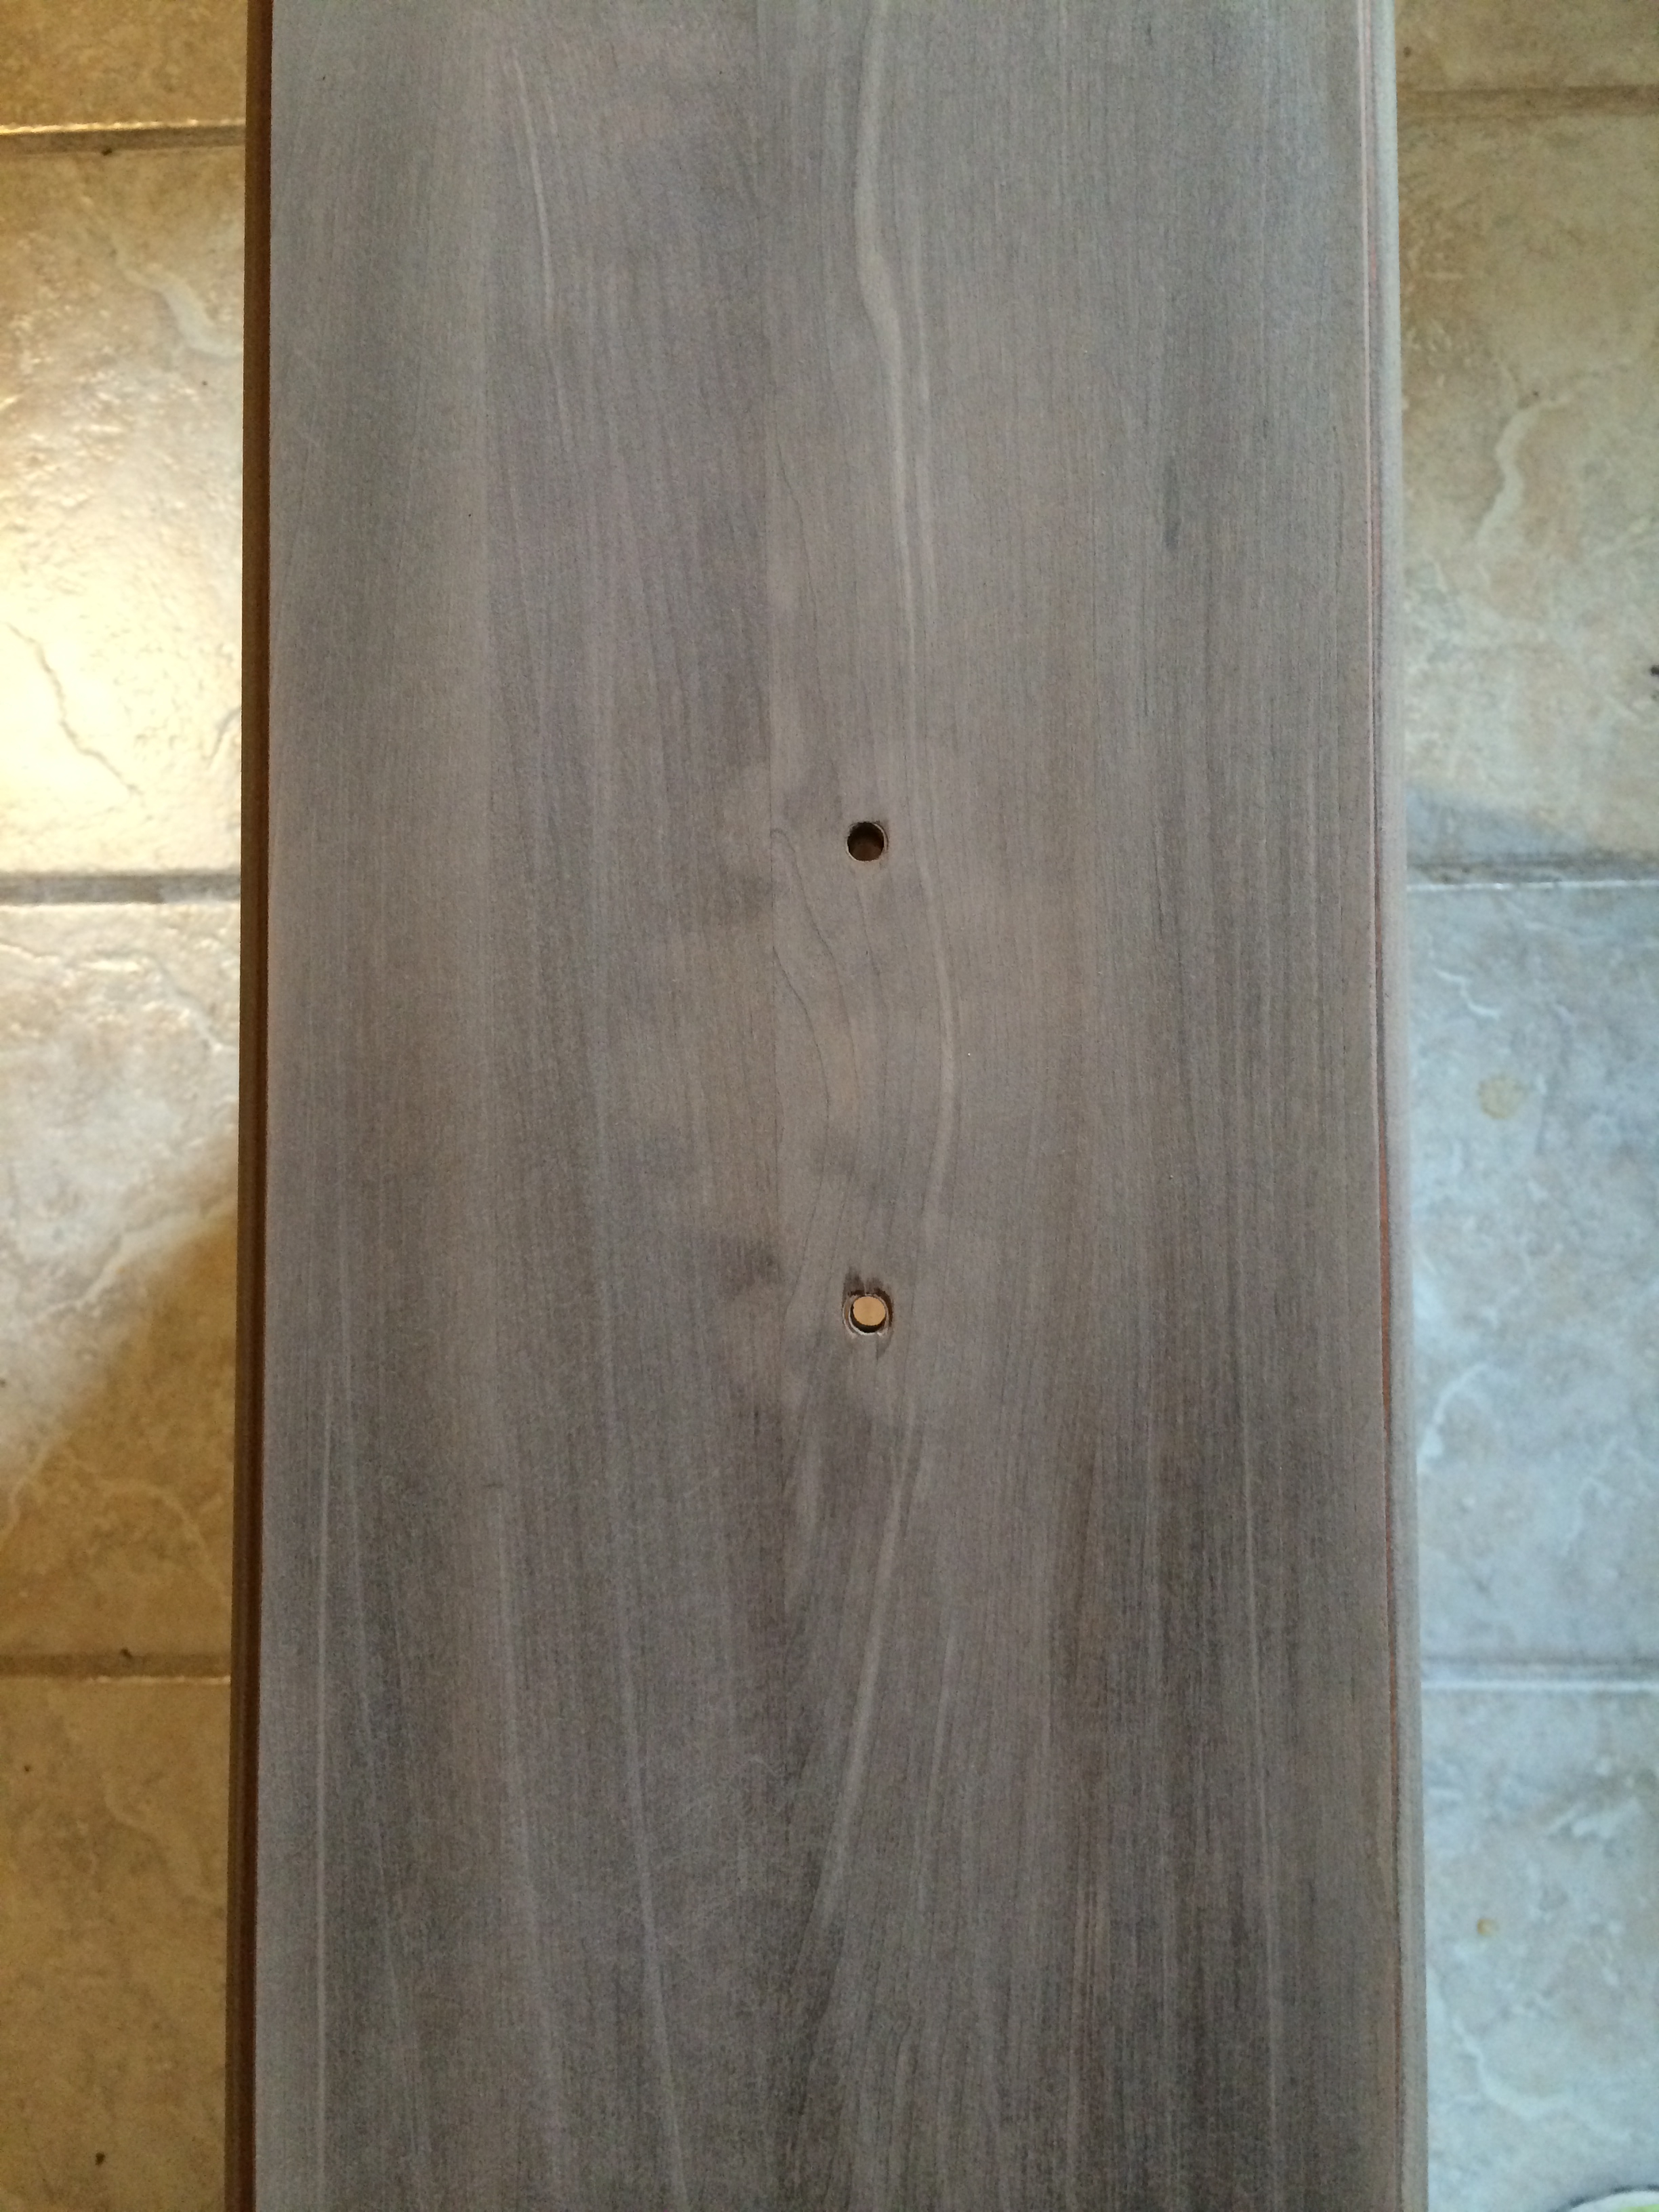
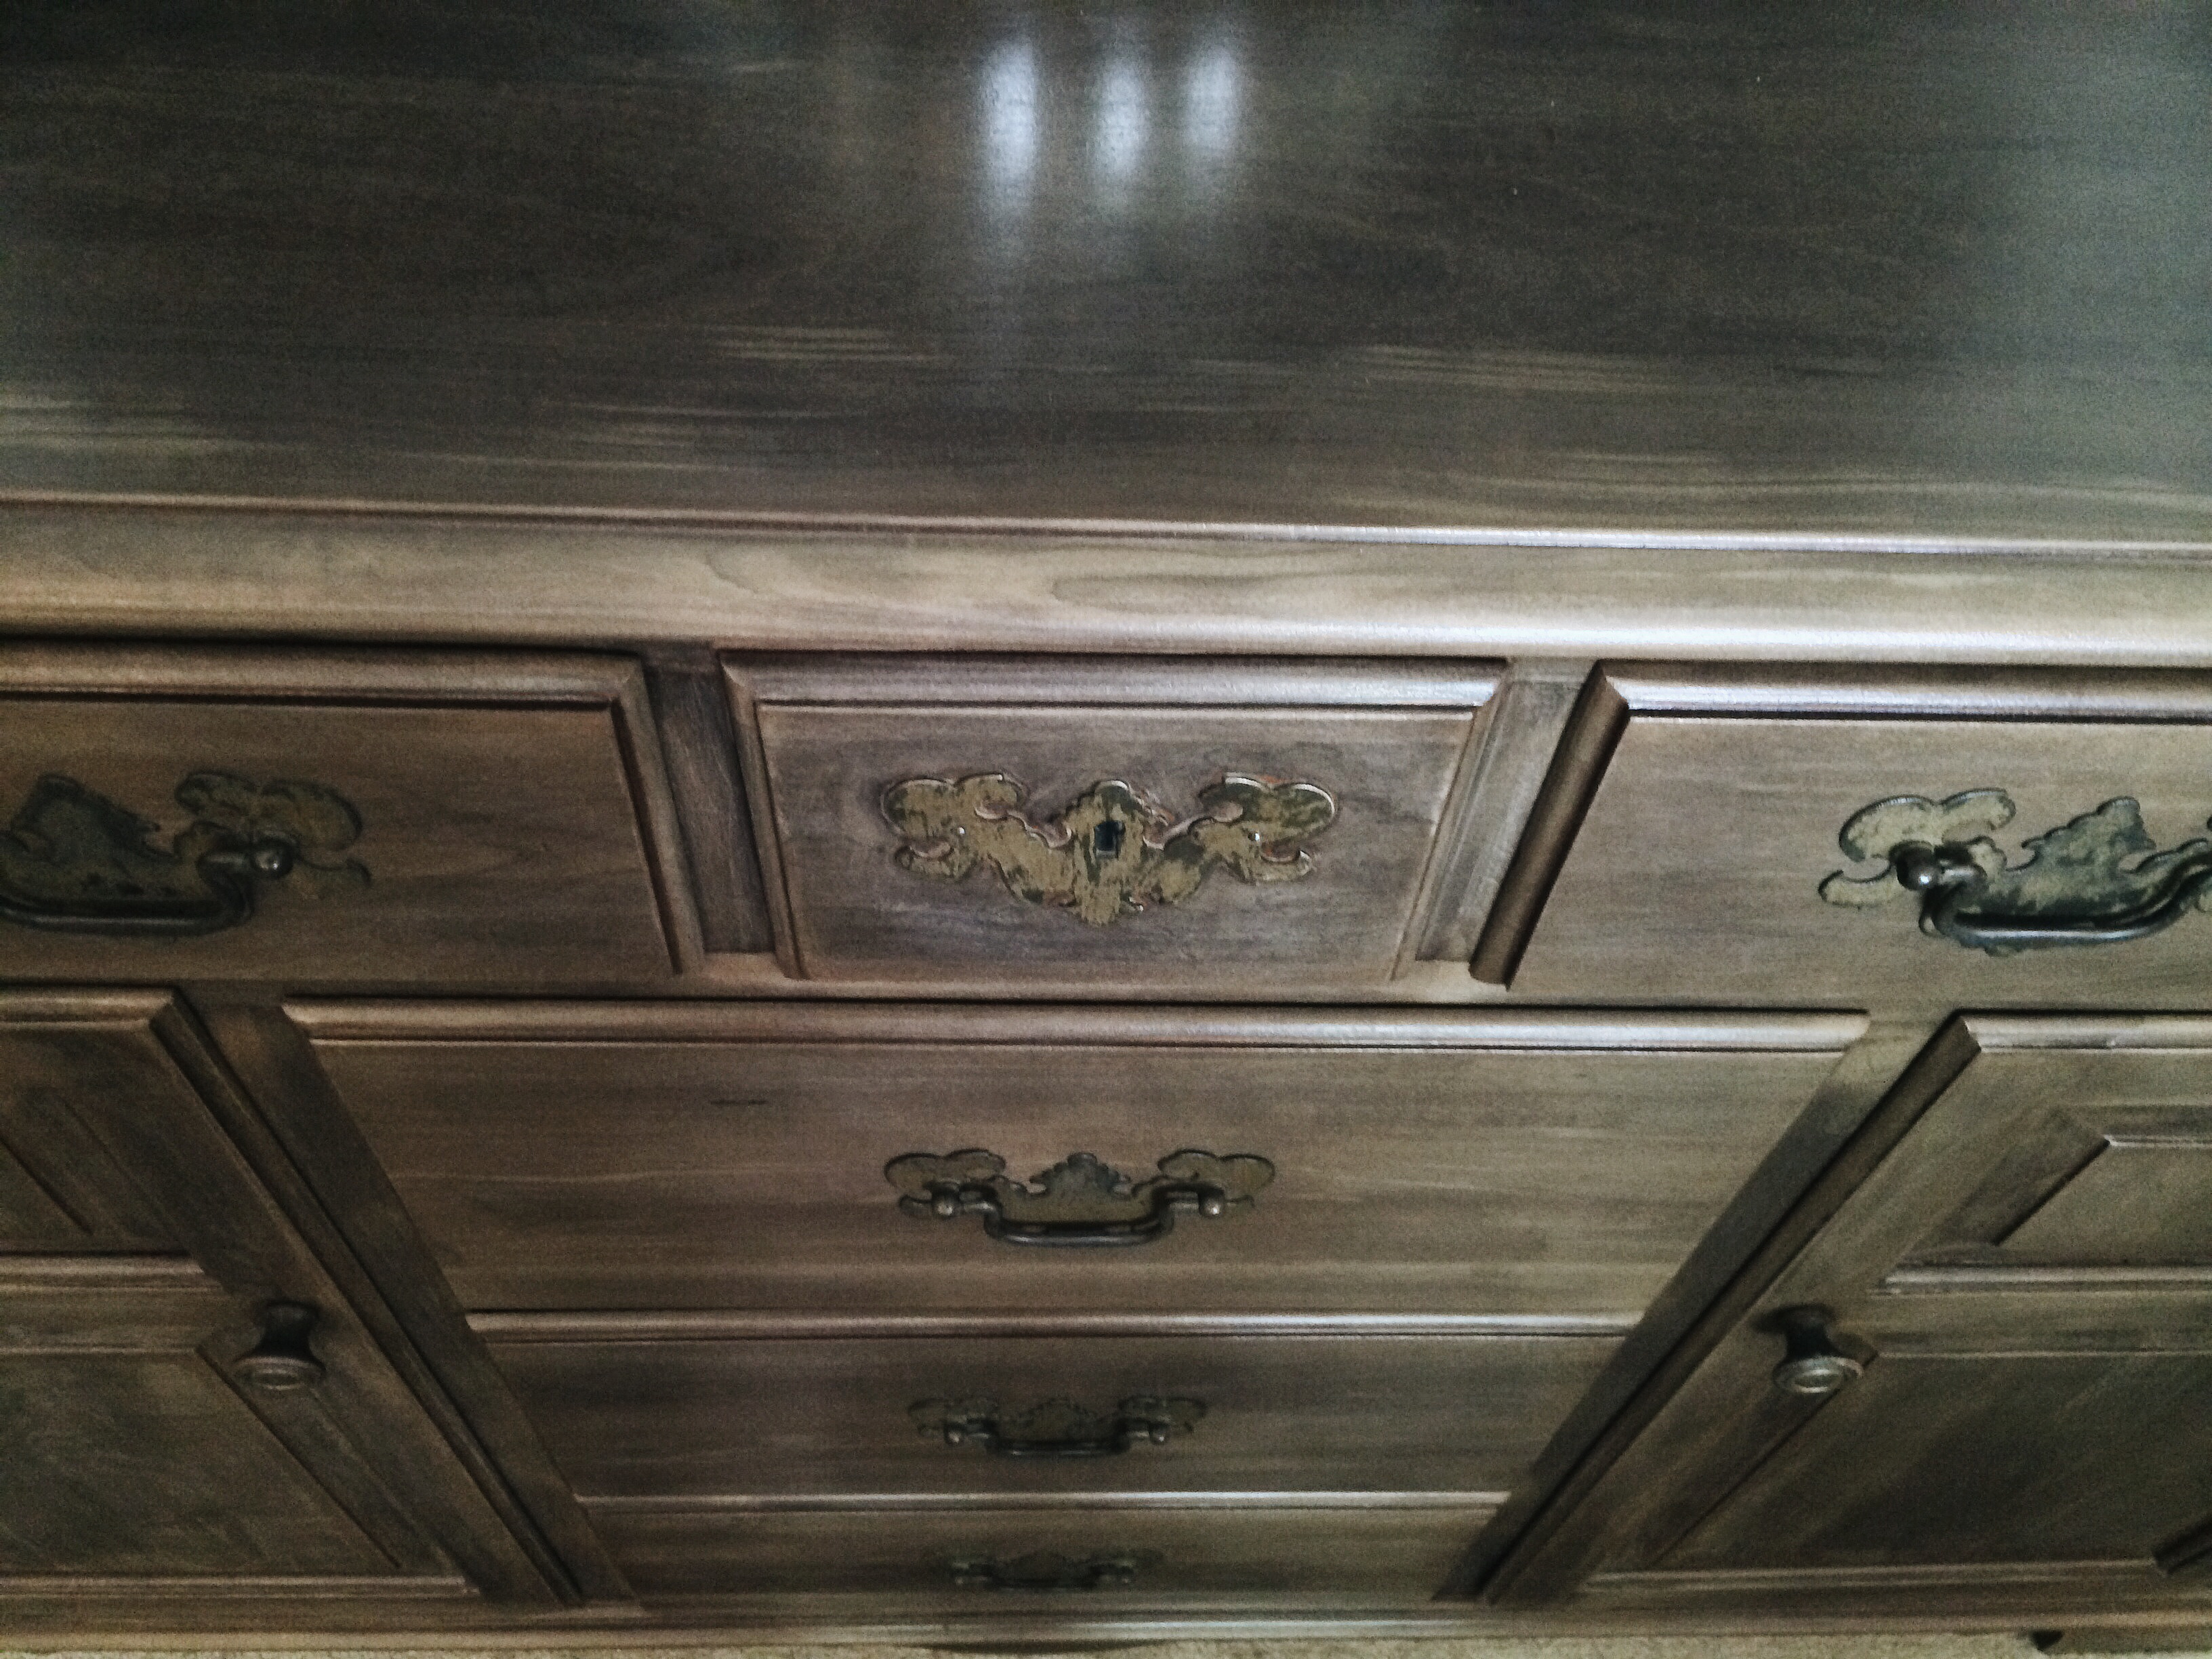
What you will end up with is a beautifully aged piece that will last for years to come! I think you will agree it certainly gives the antique a rich patina. Remember, the goal is to have fun with this, enjoy yourself, all while (like ol’ Bing & Mary sang) counting your blessings! Check out my before and after pics below. Until next time….

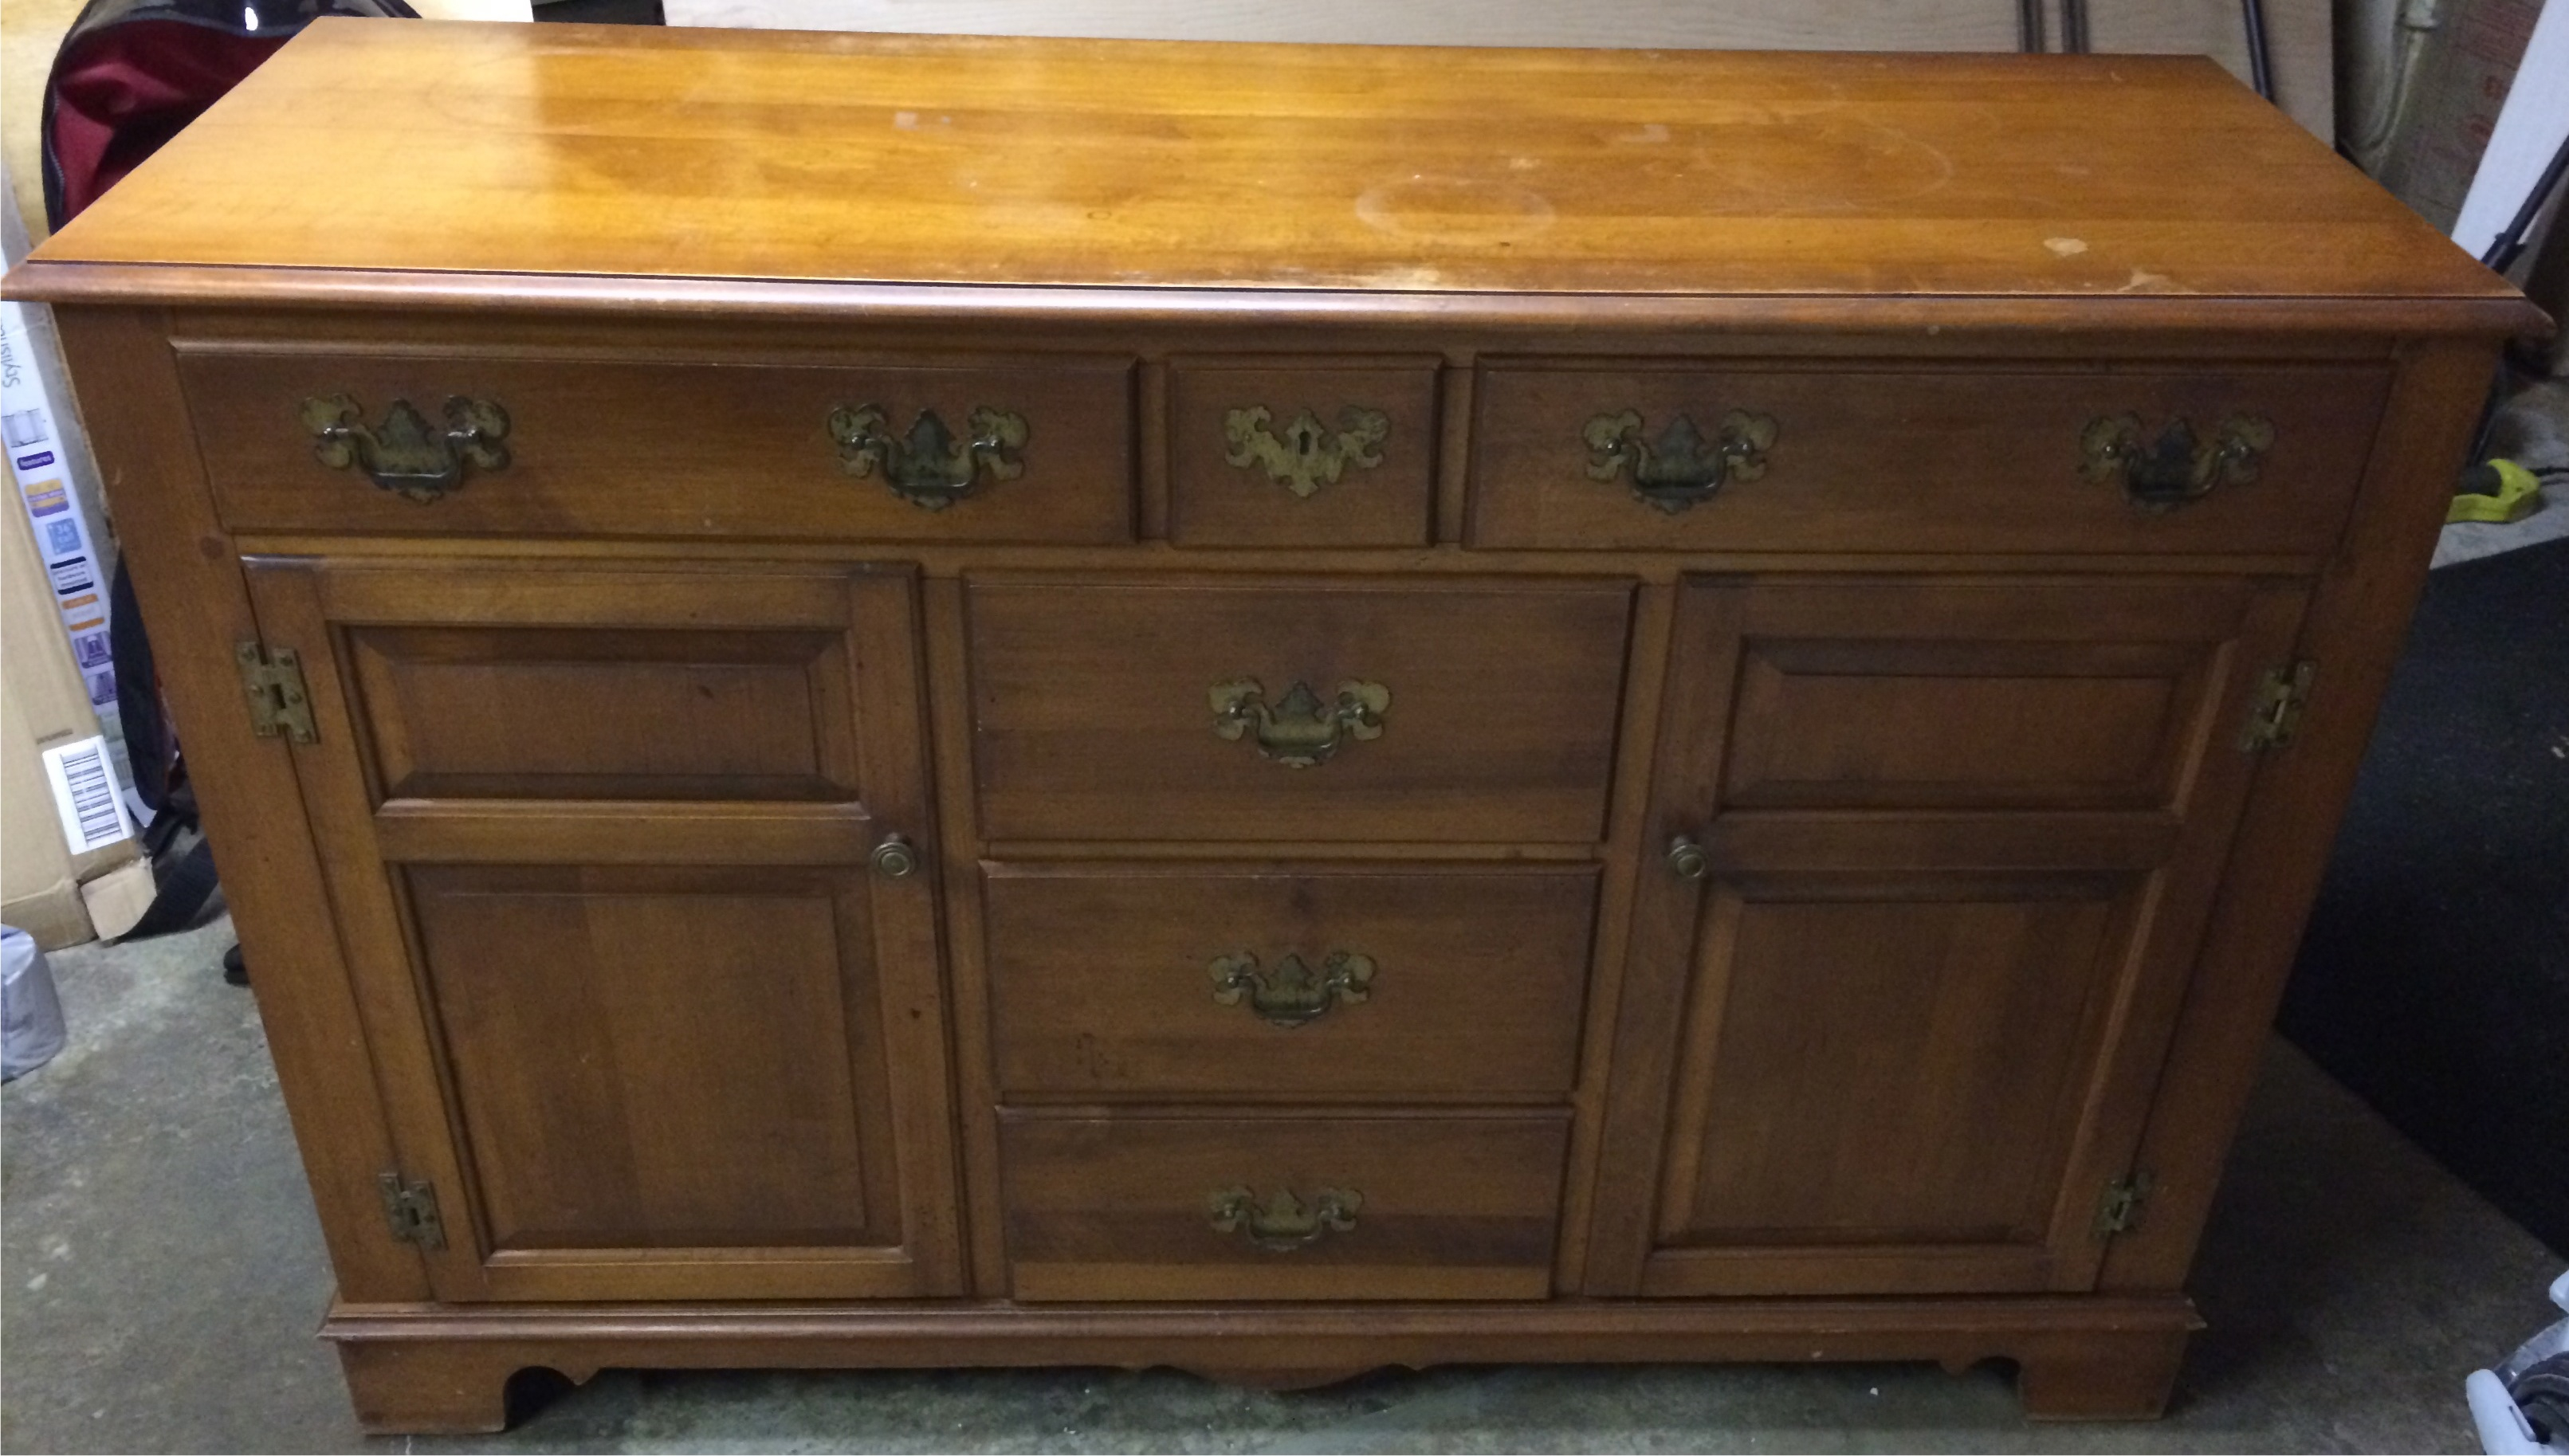
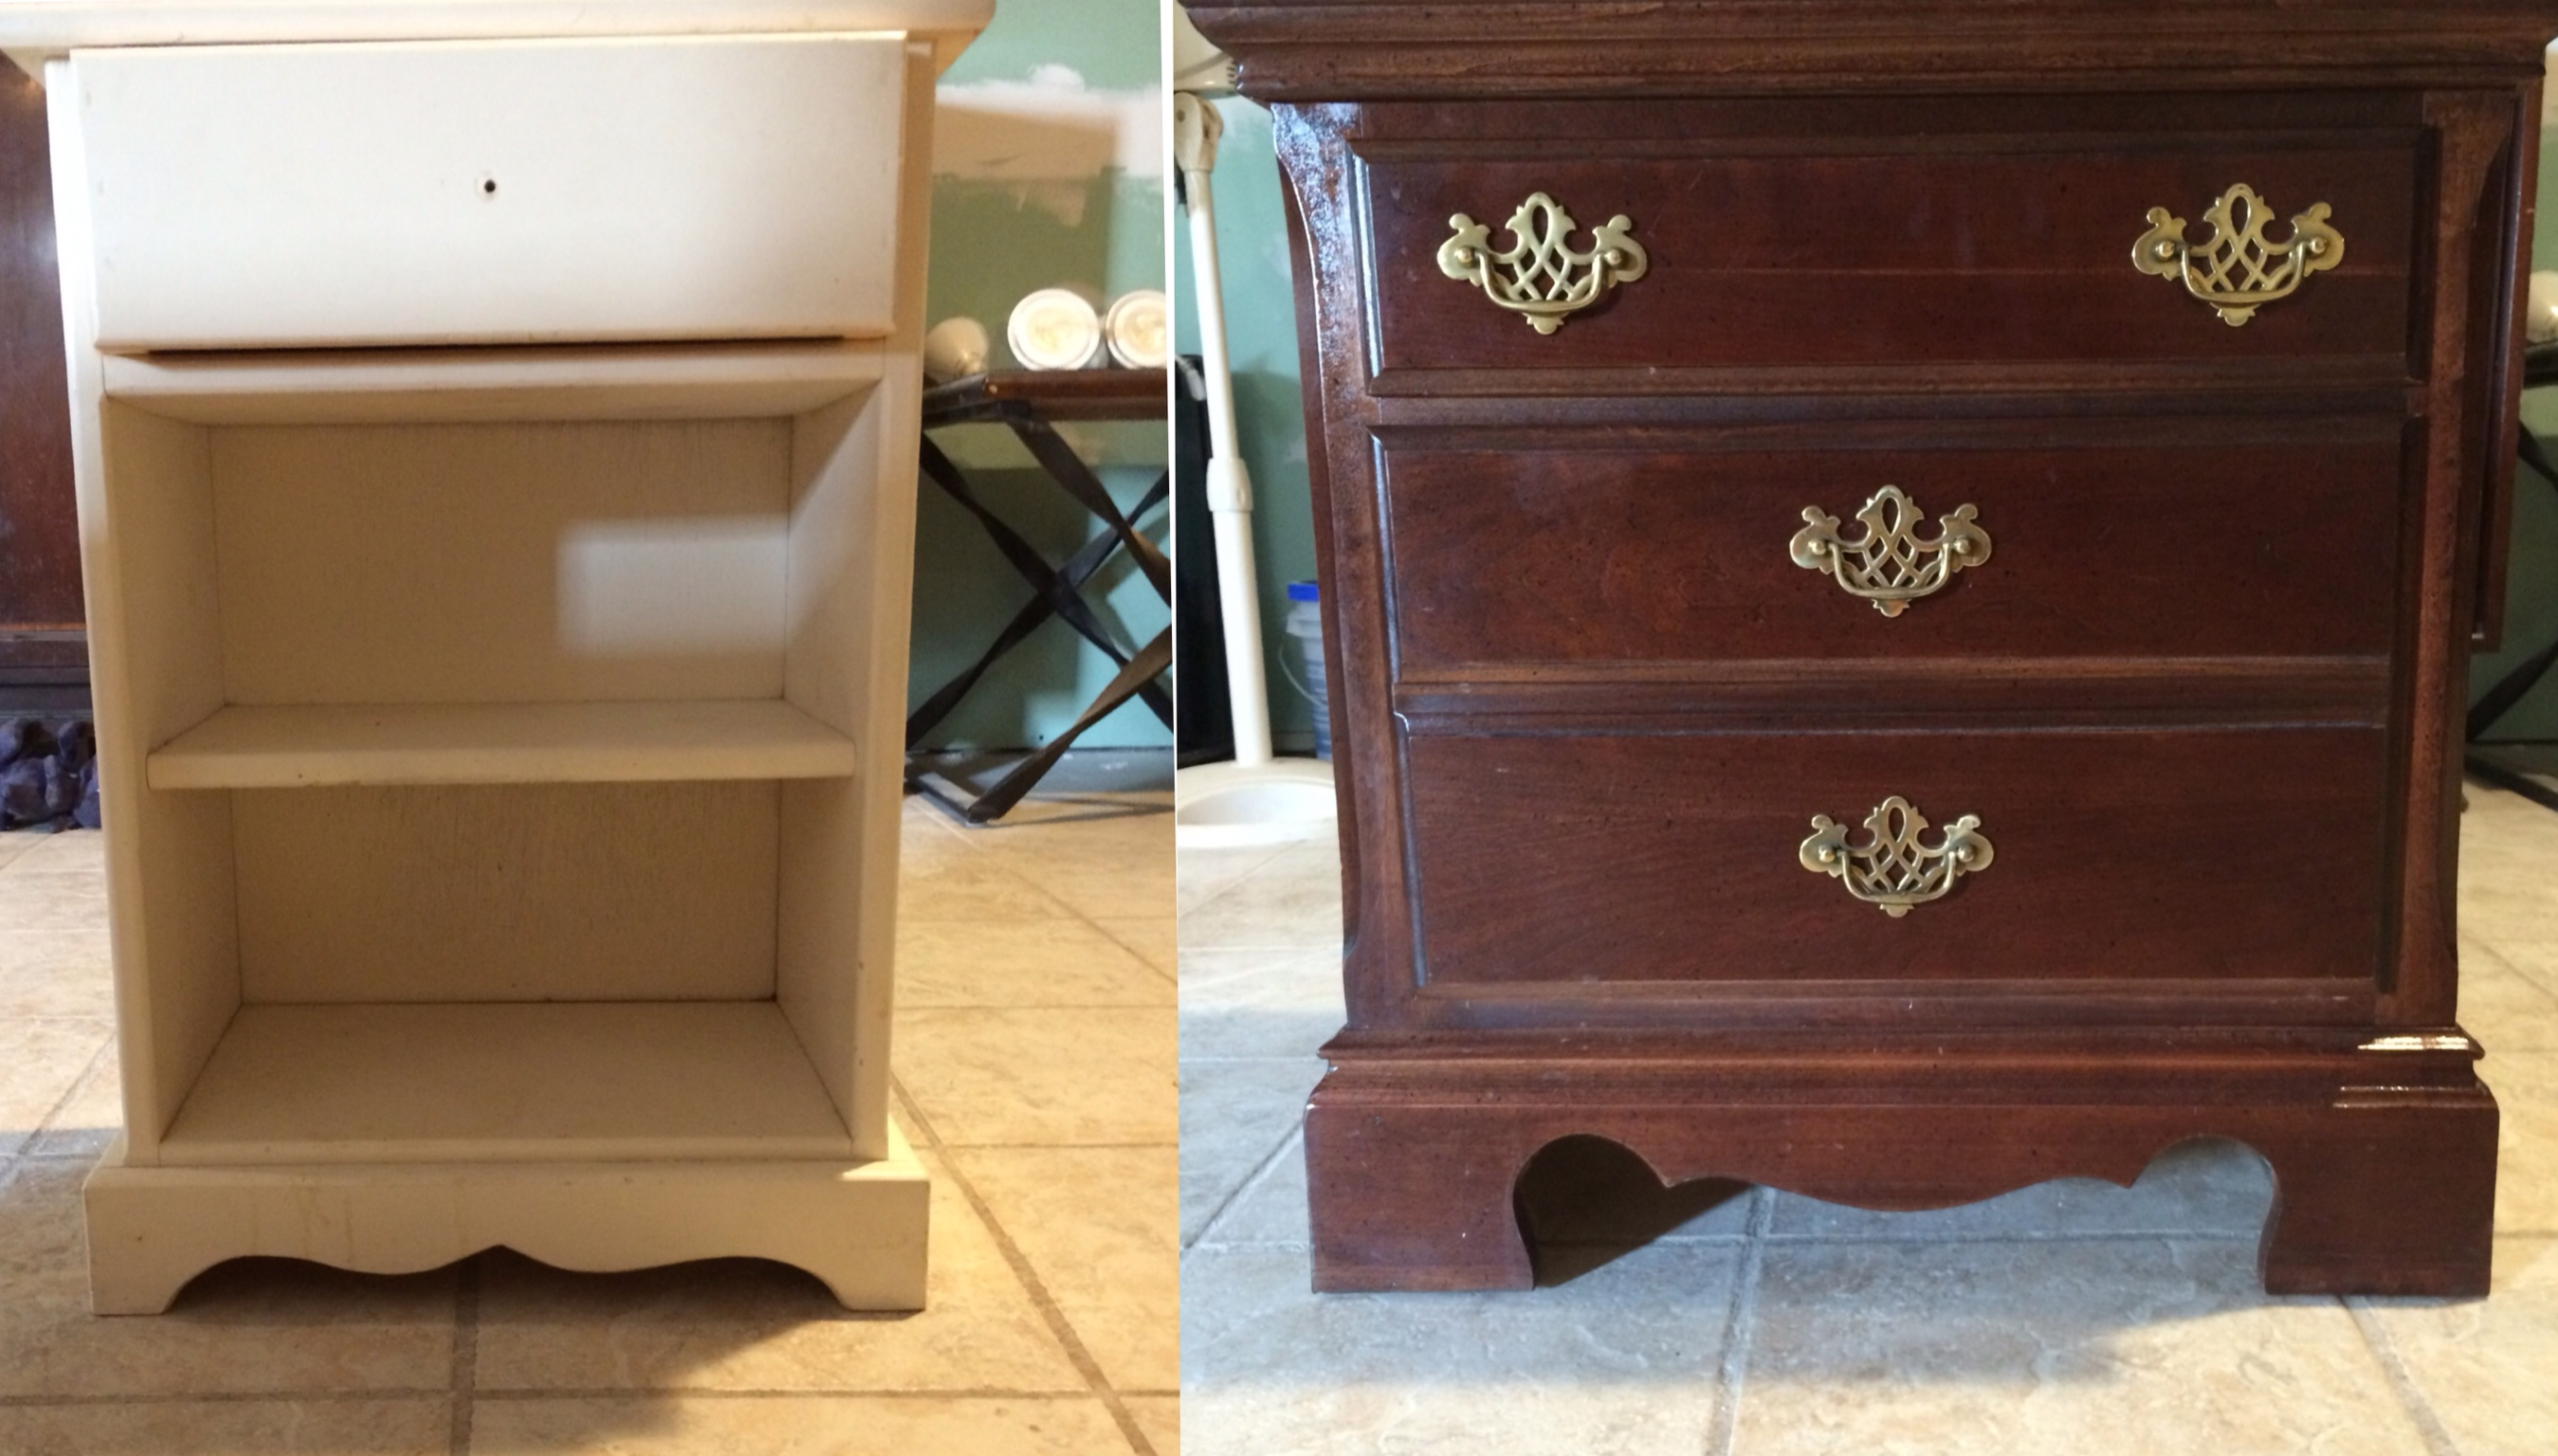
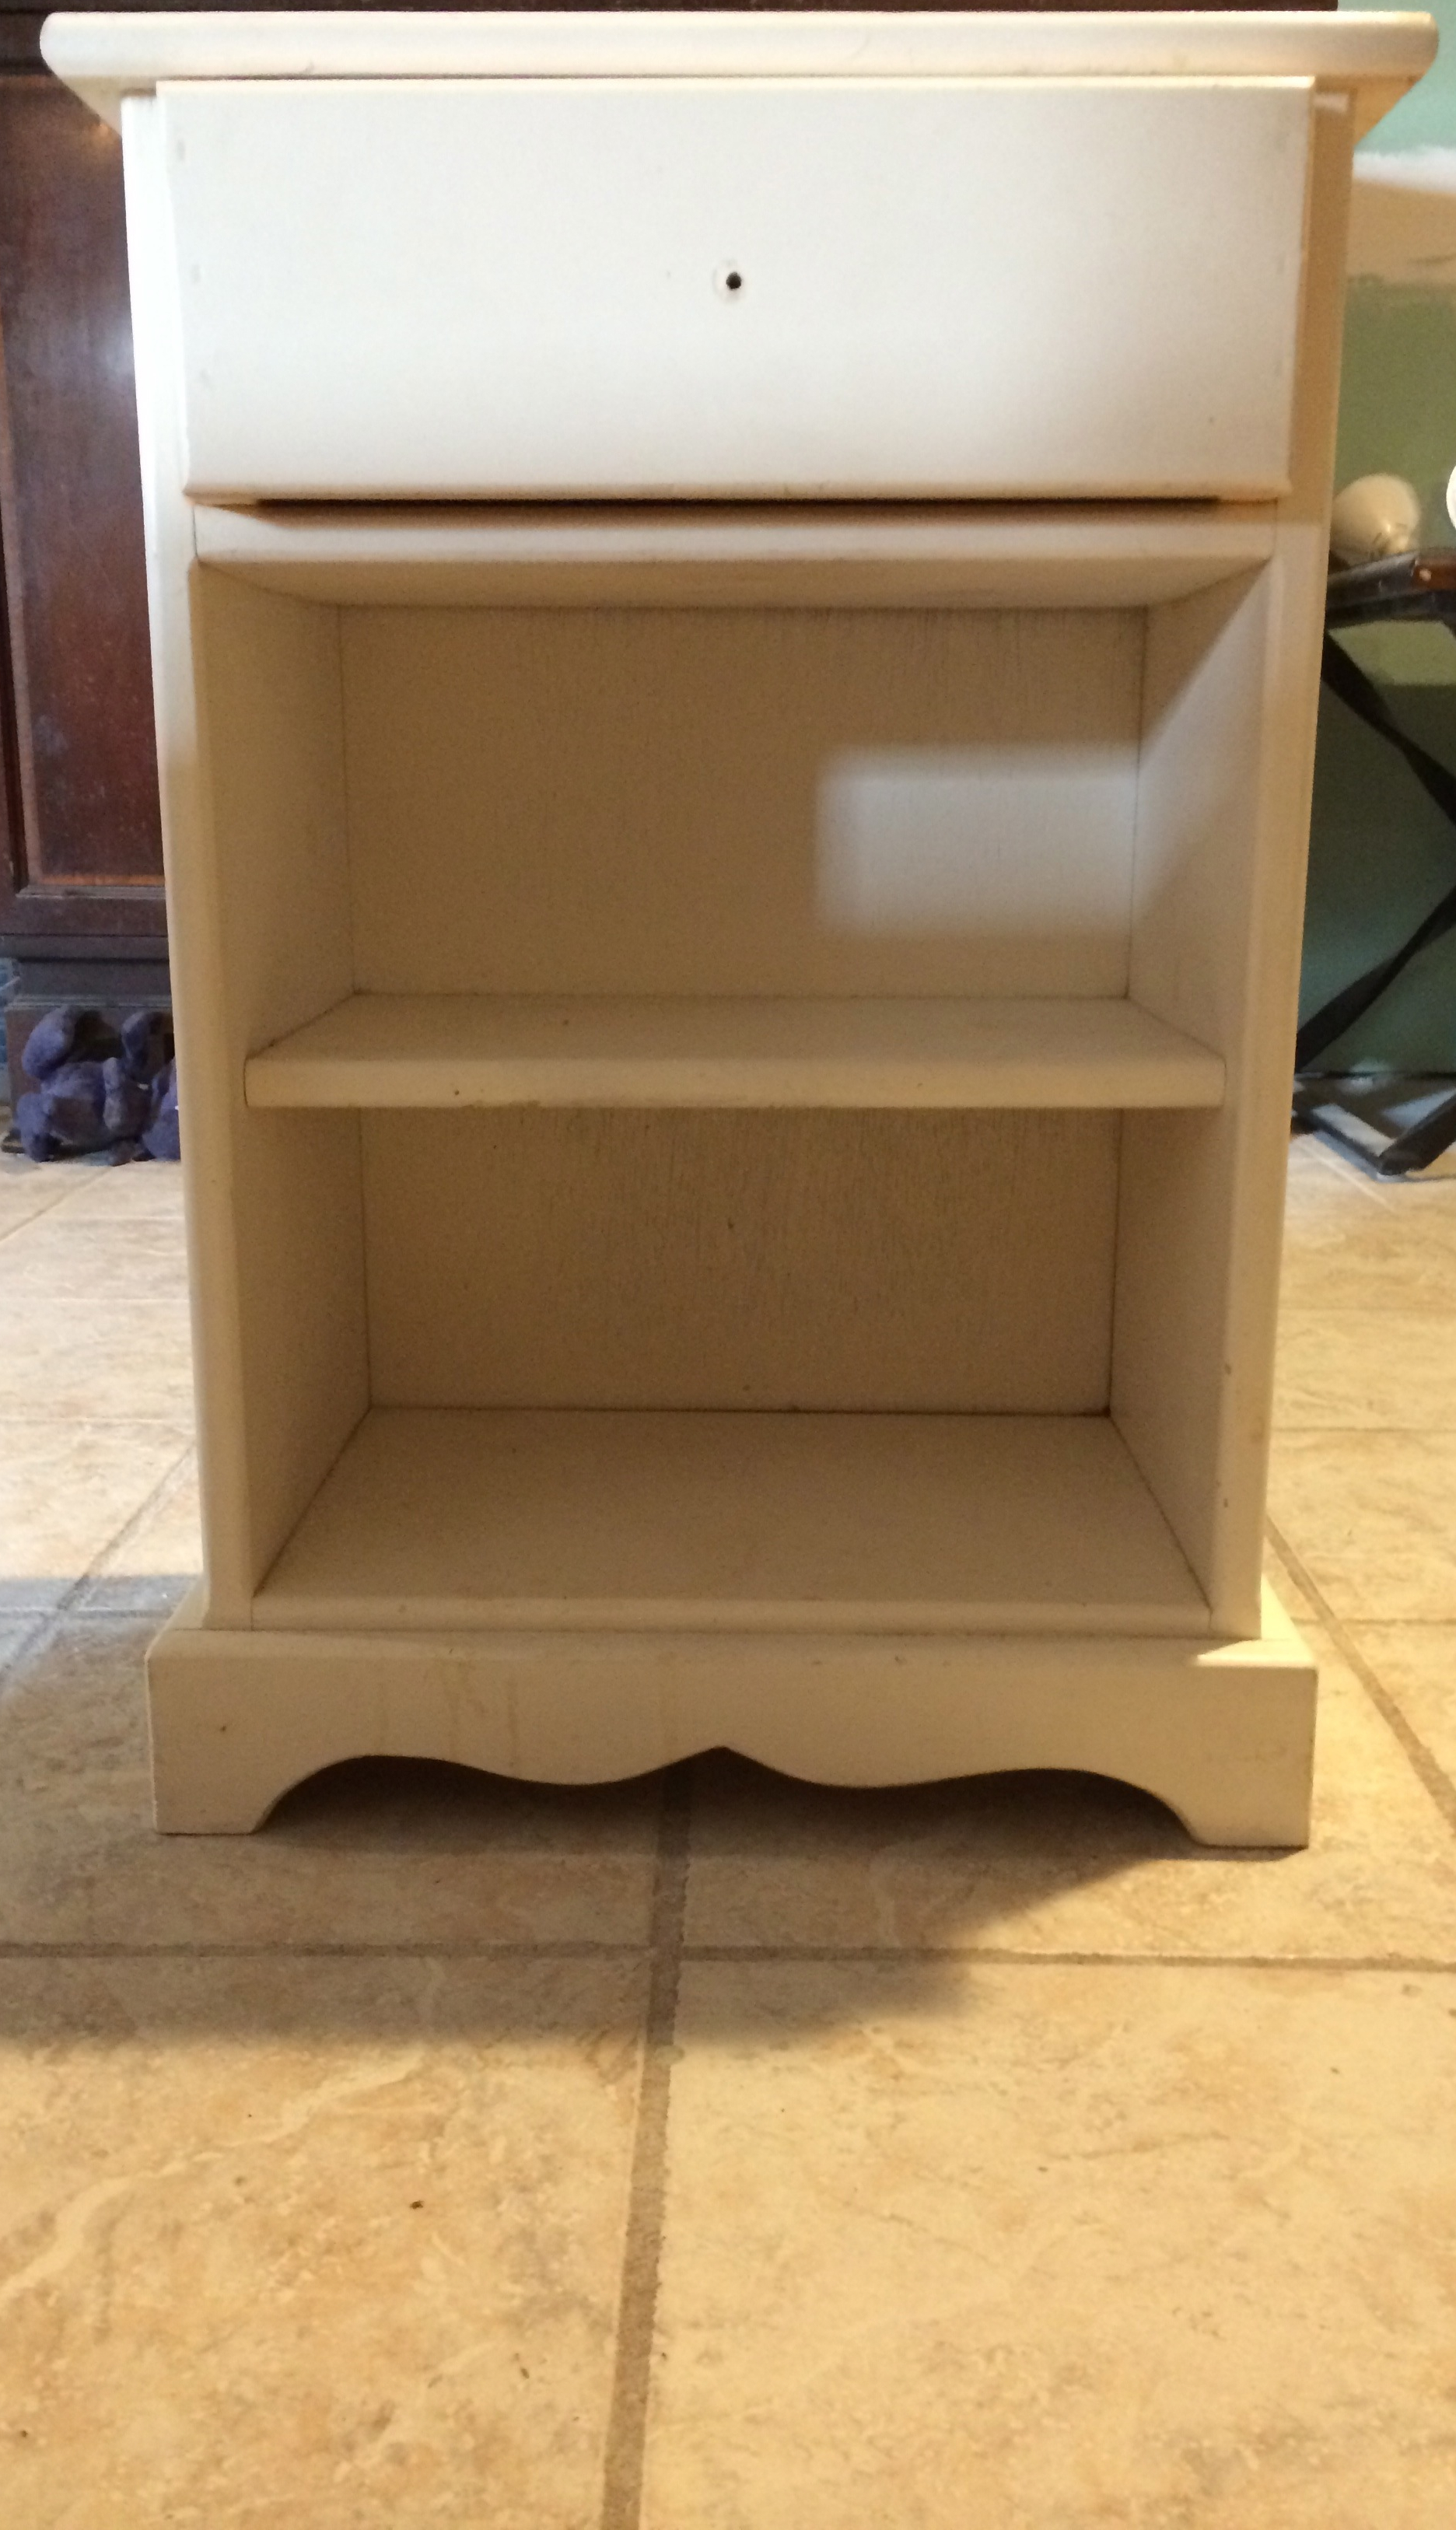
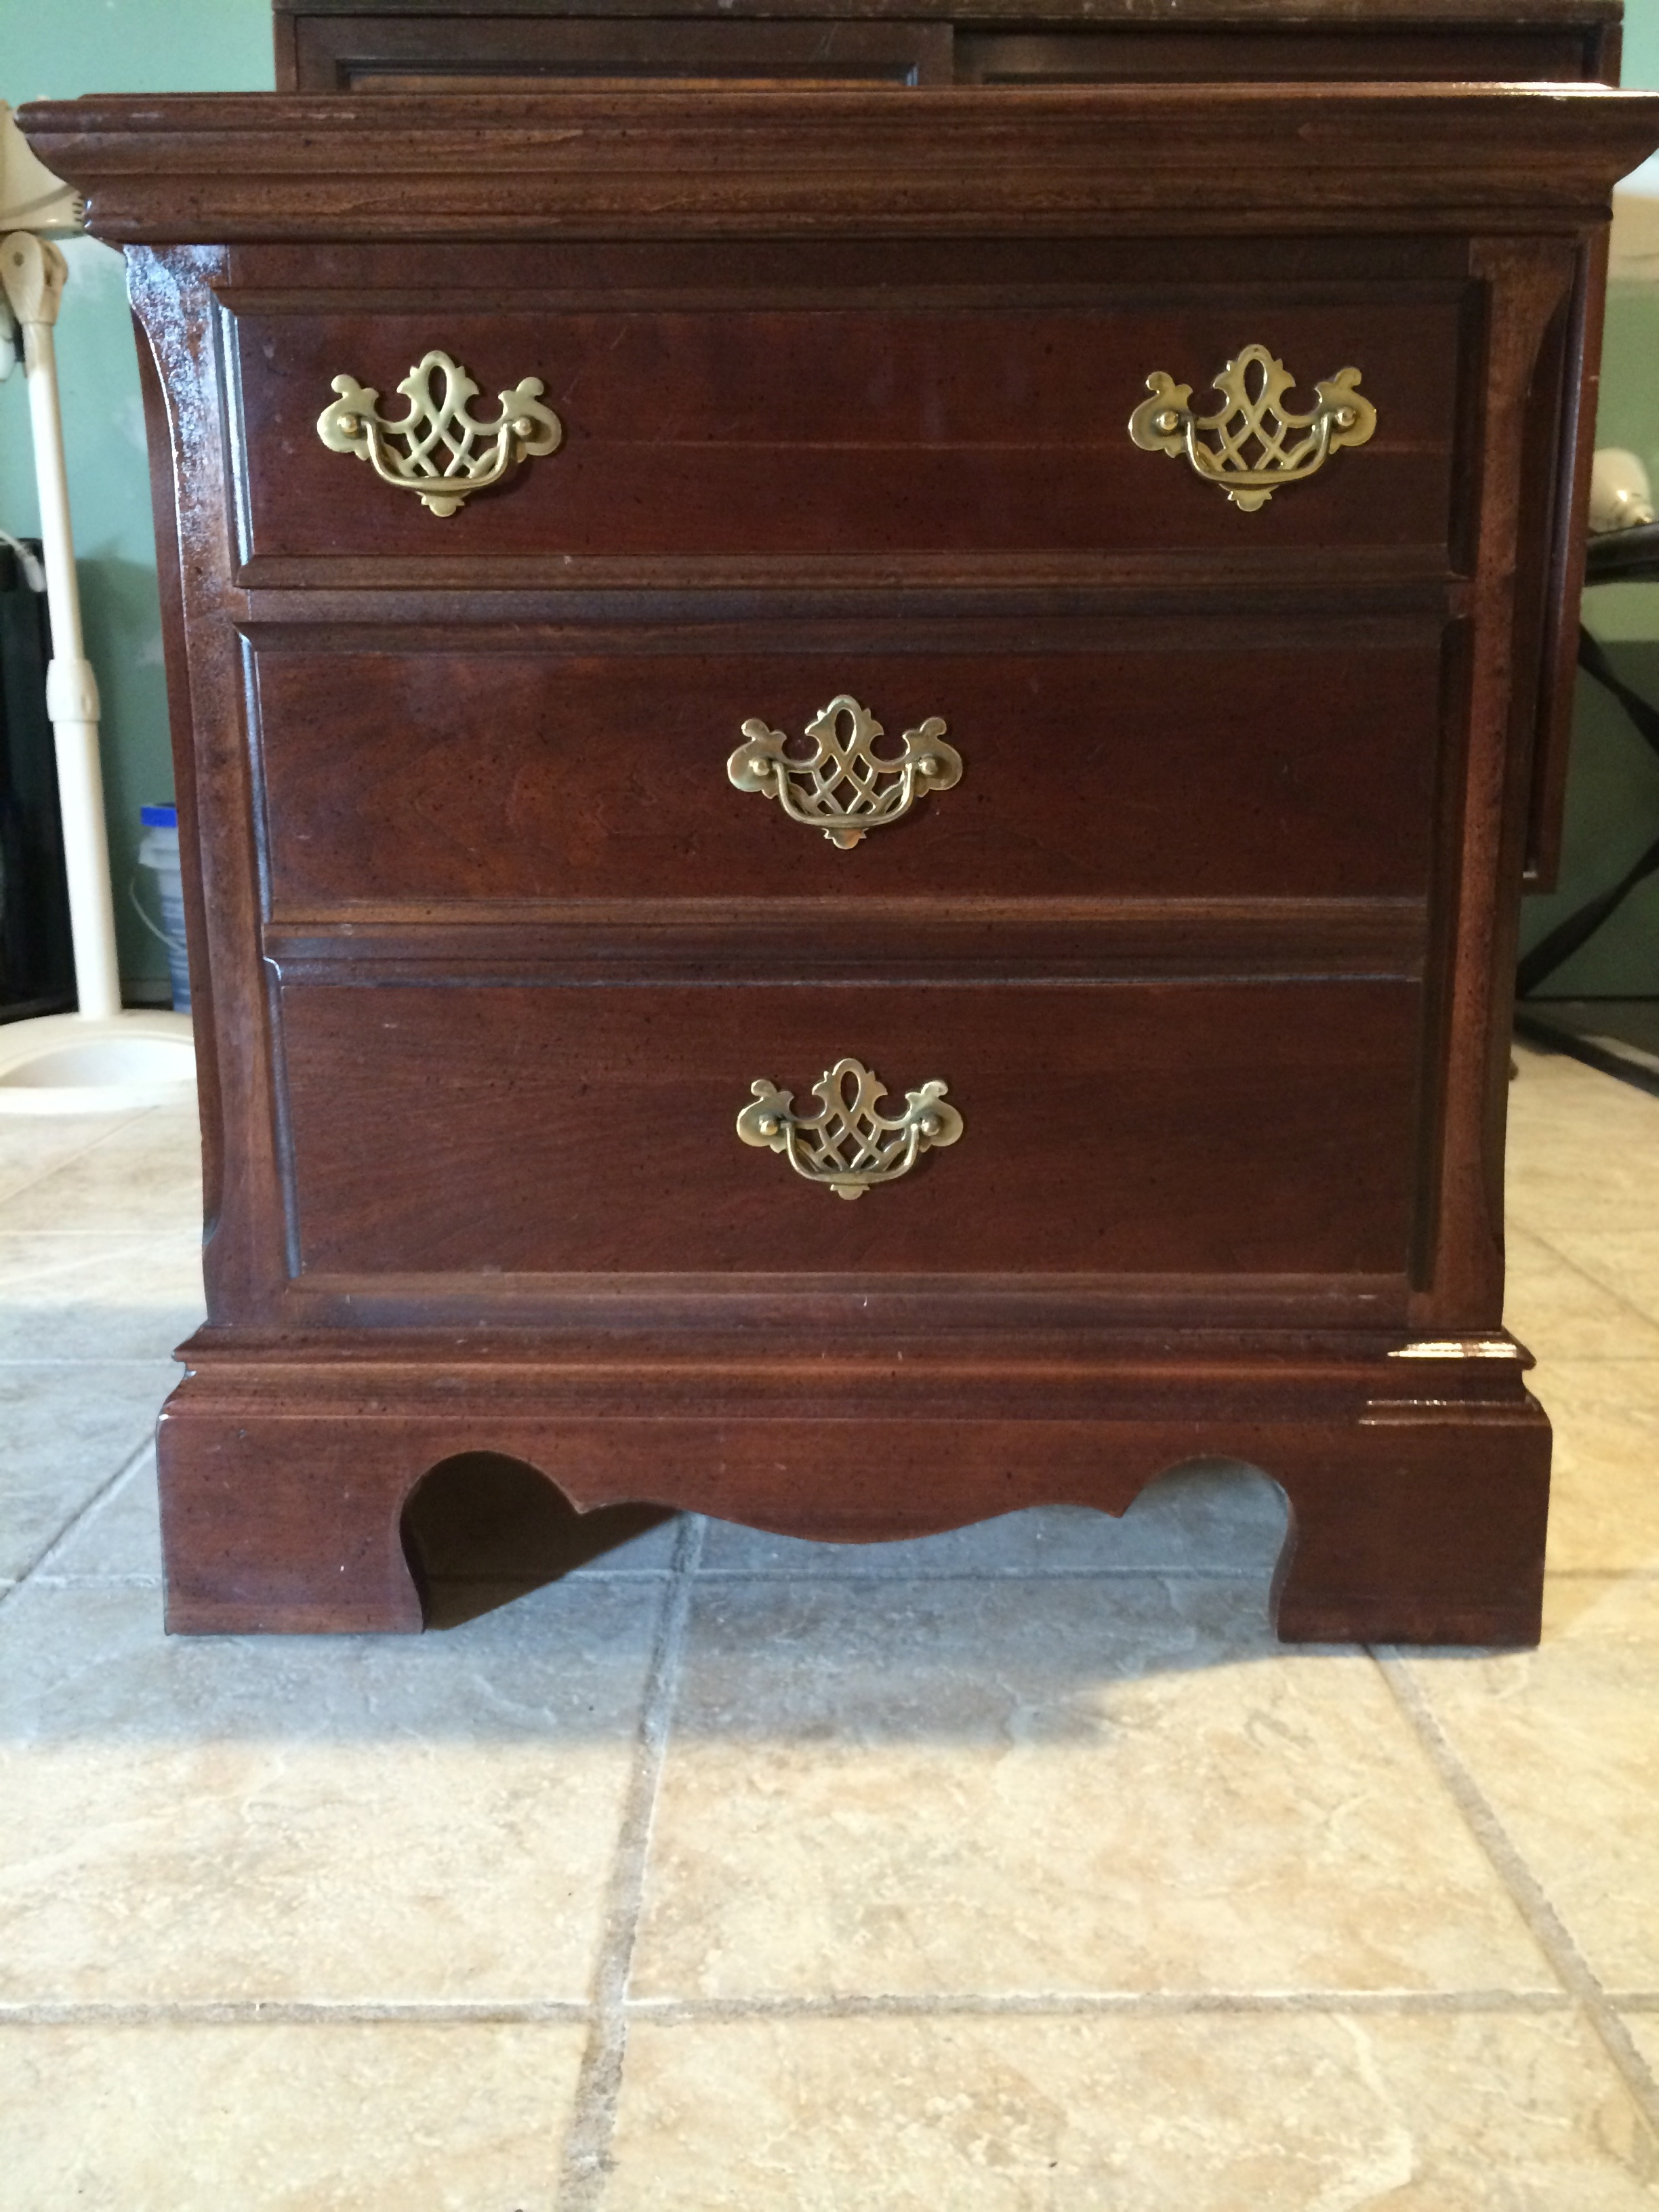
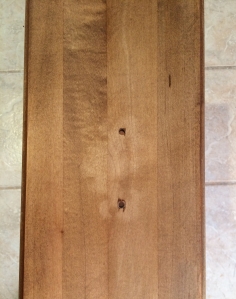
Before


Before
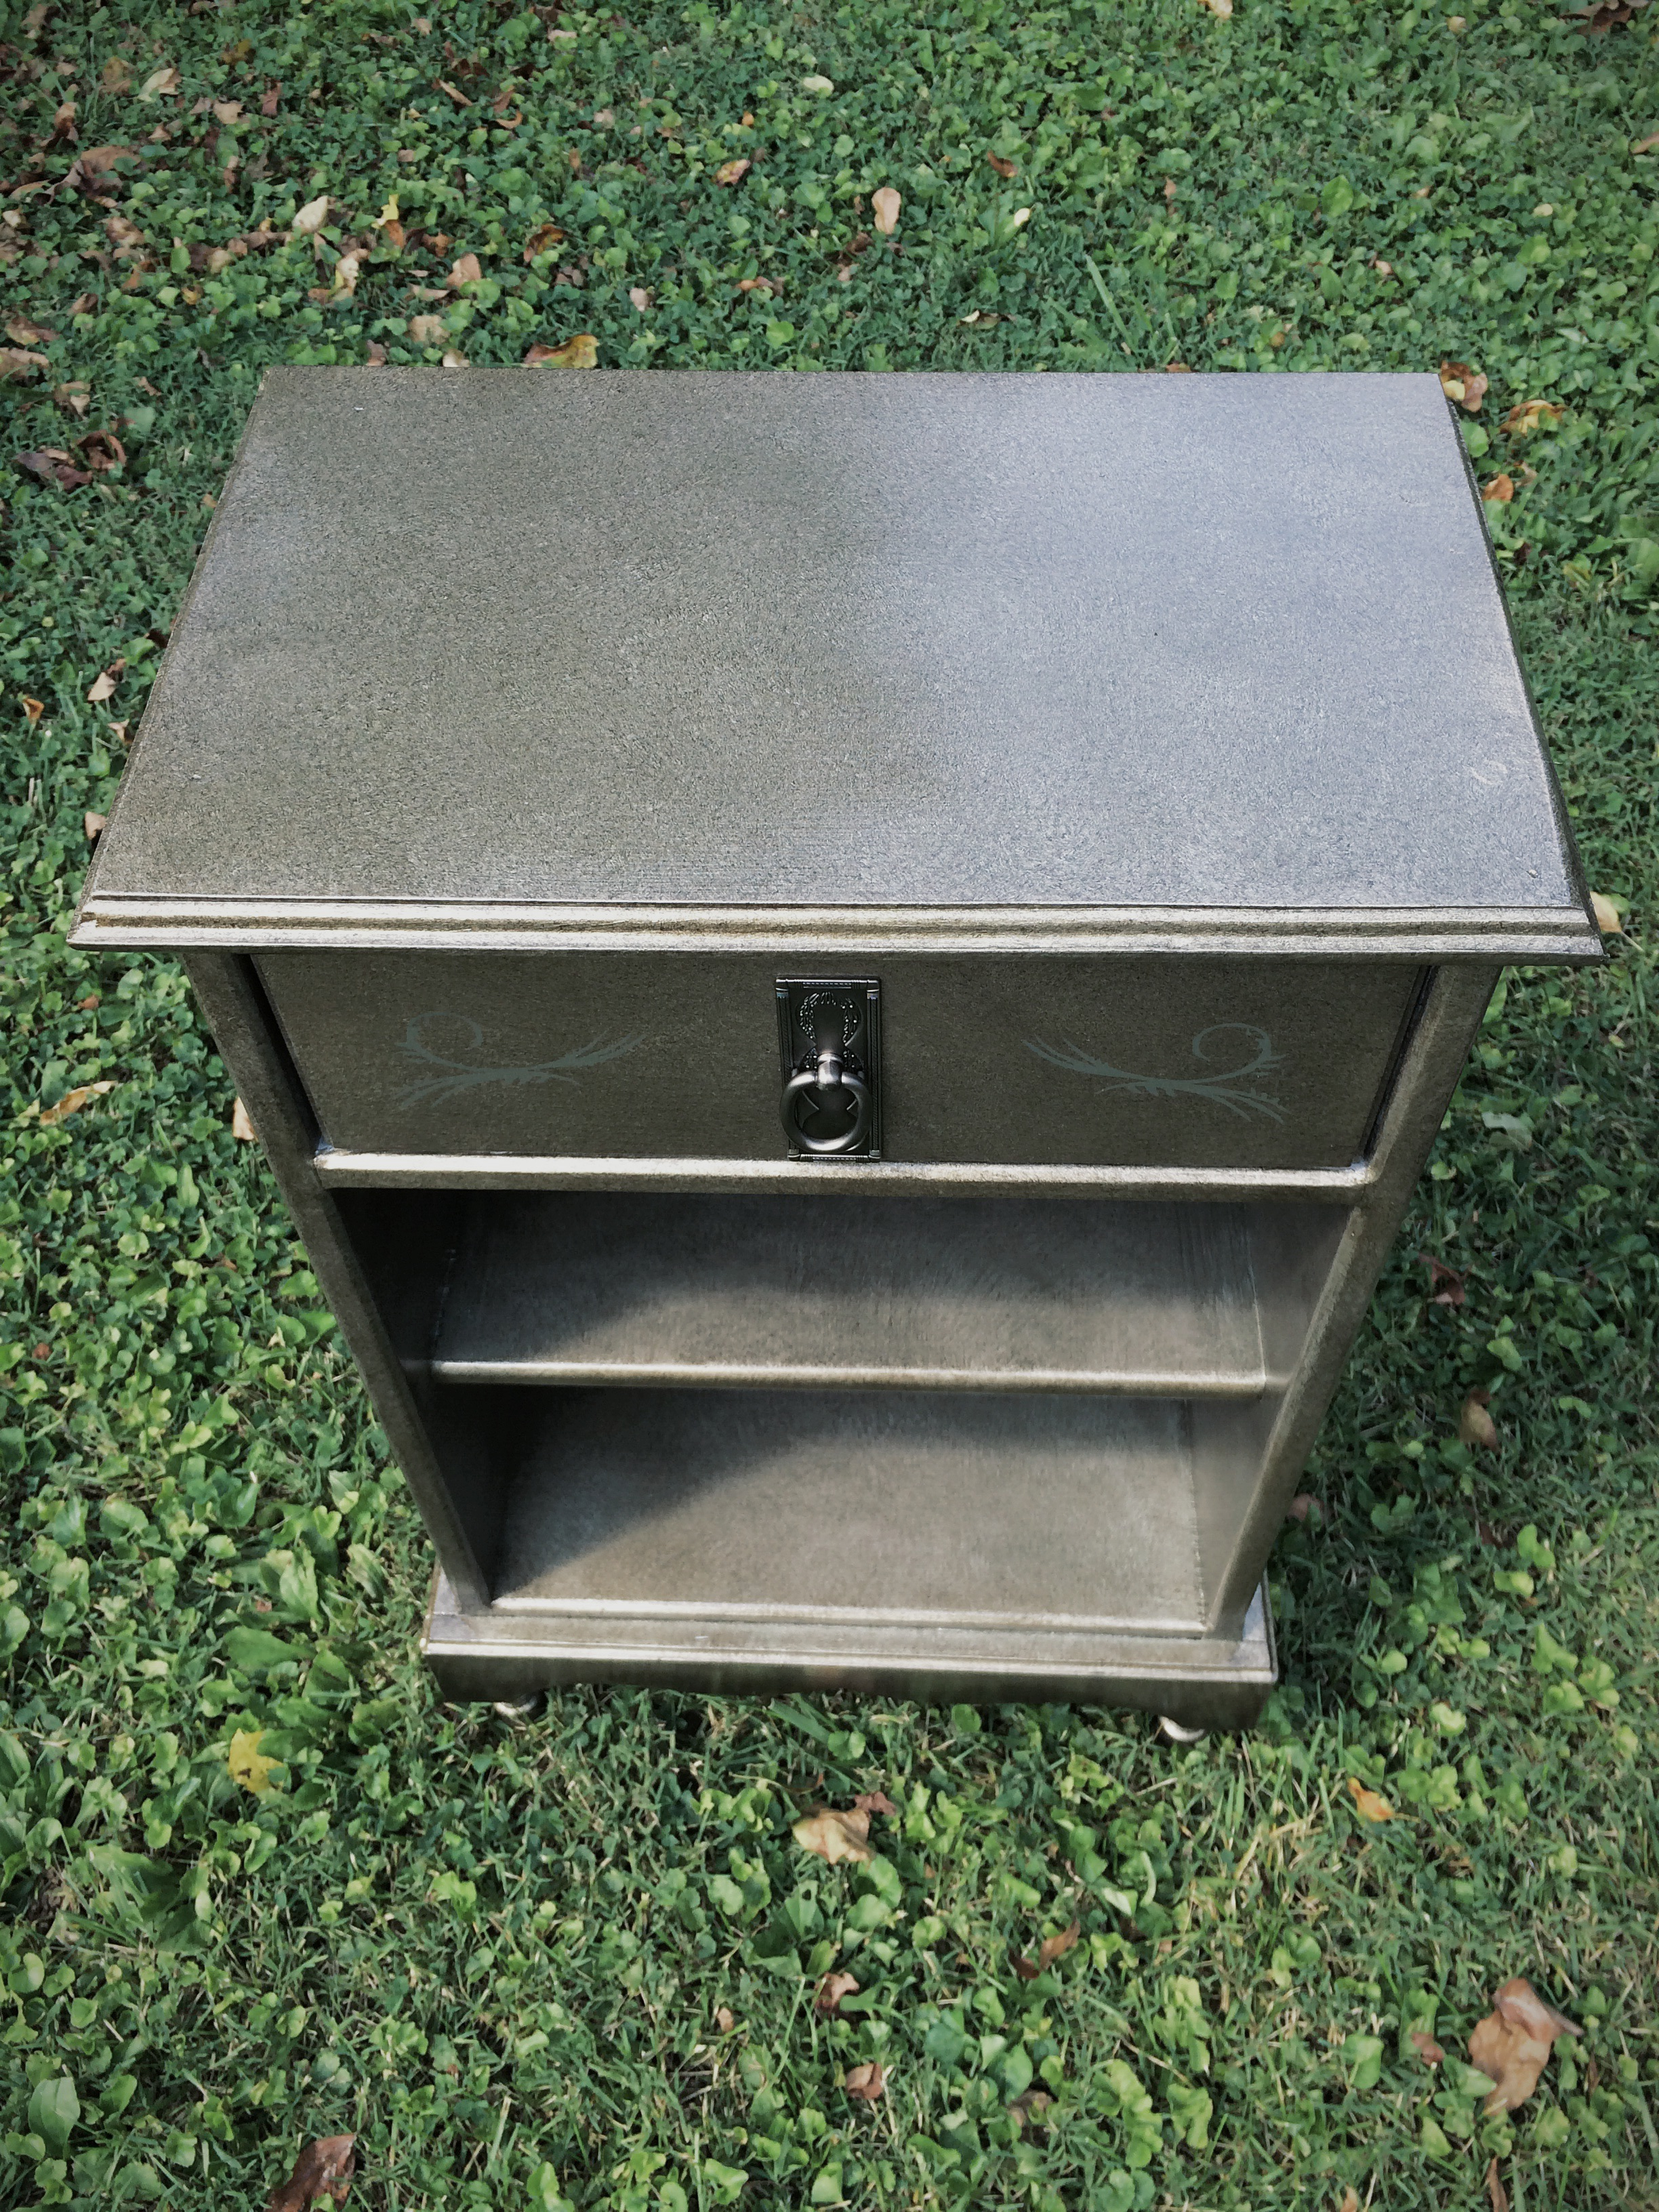
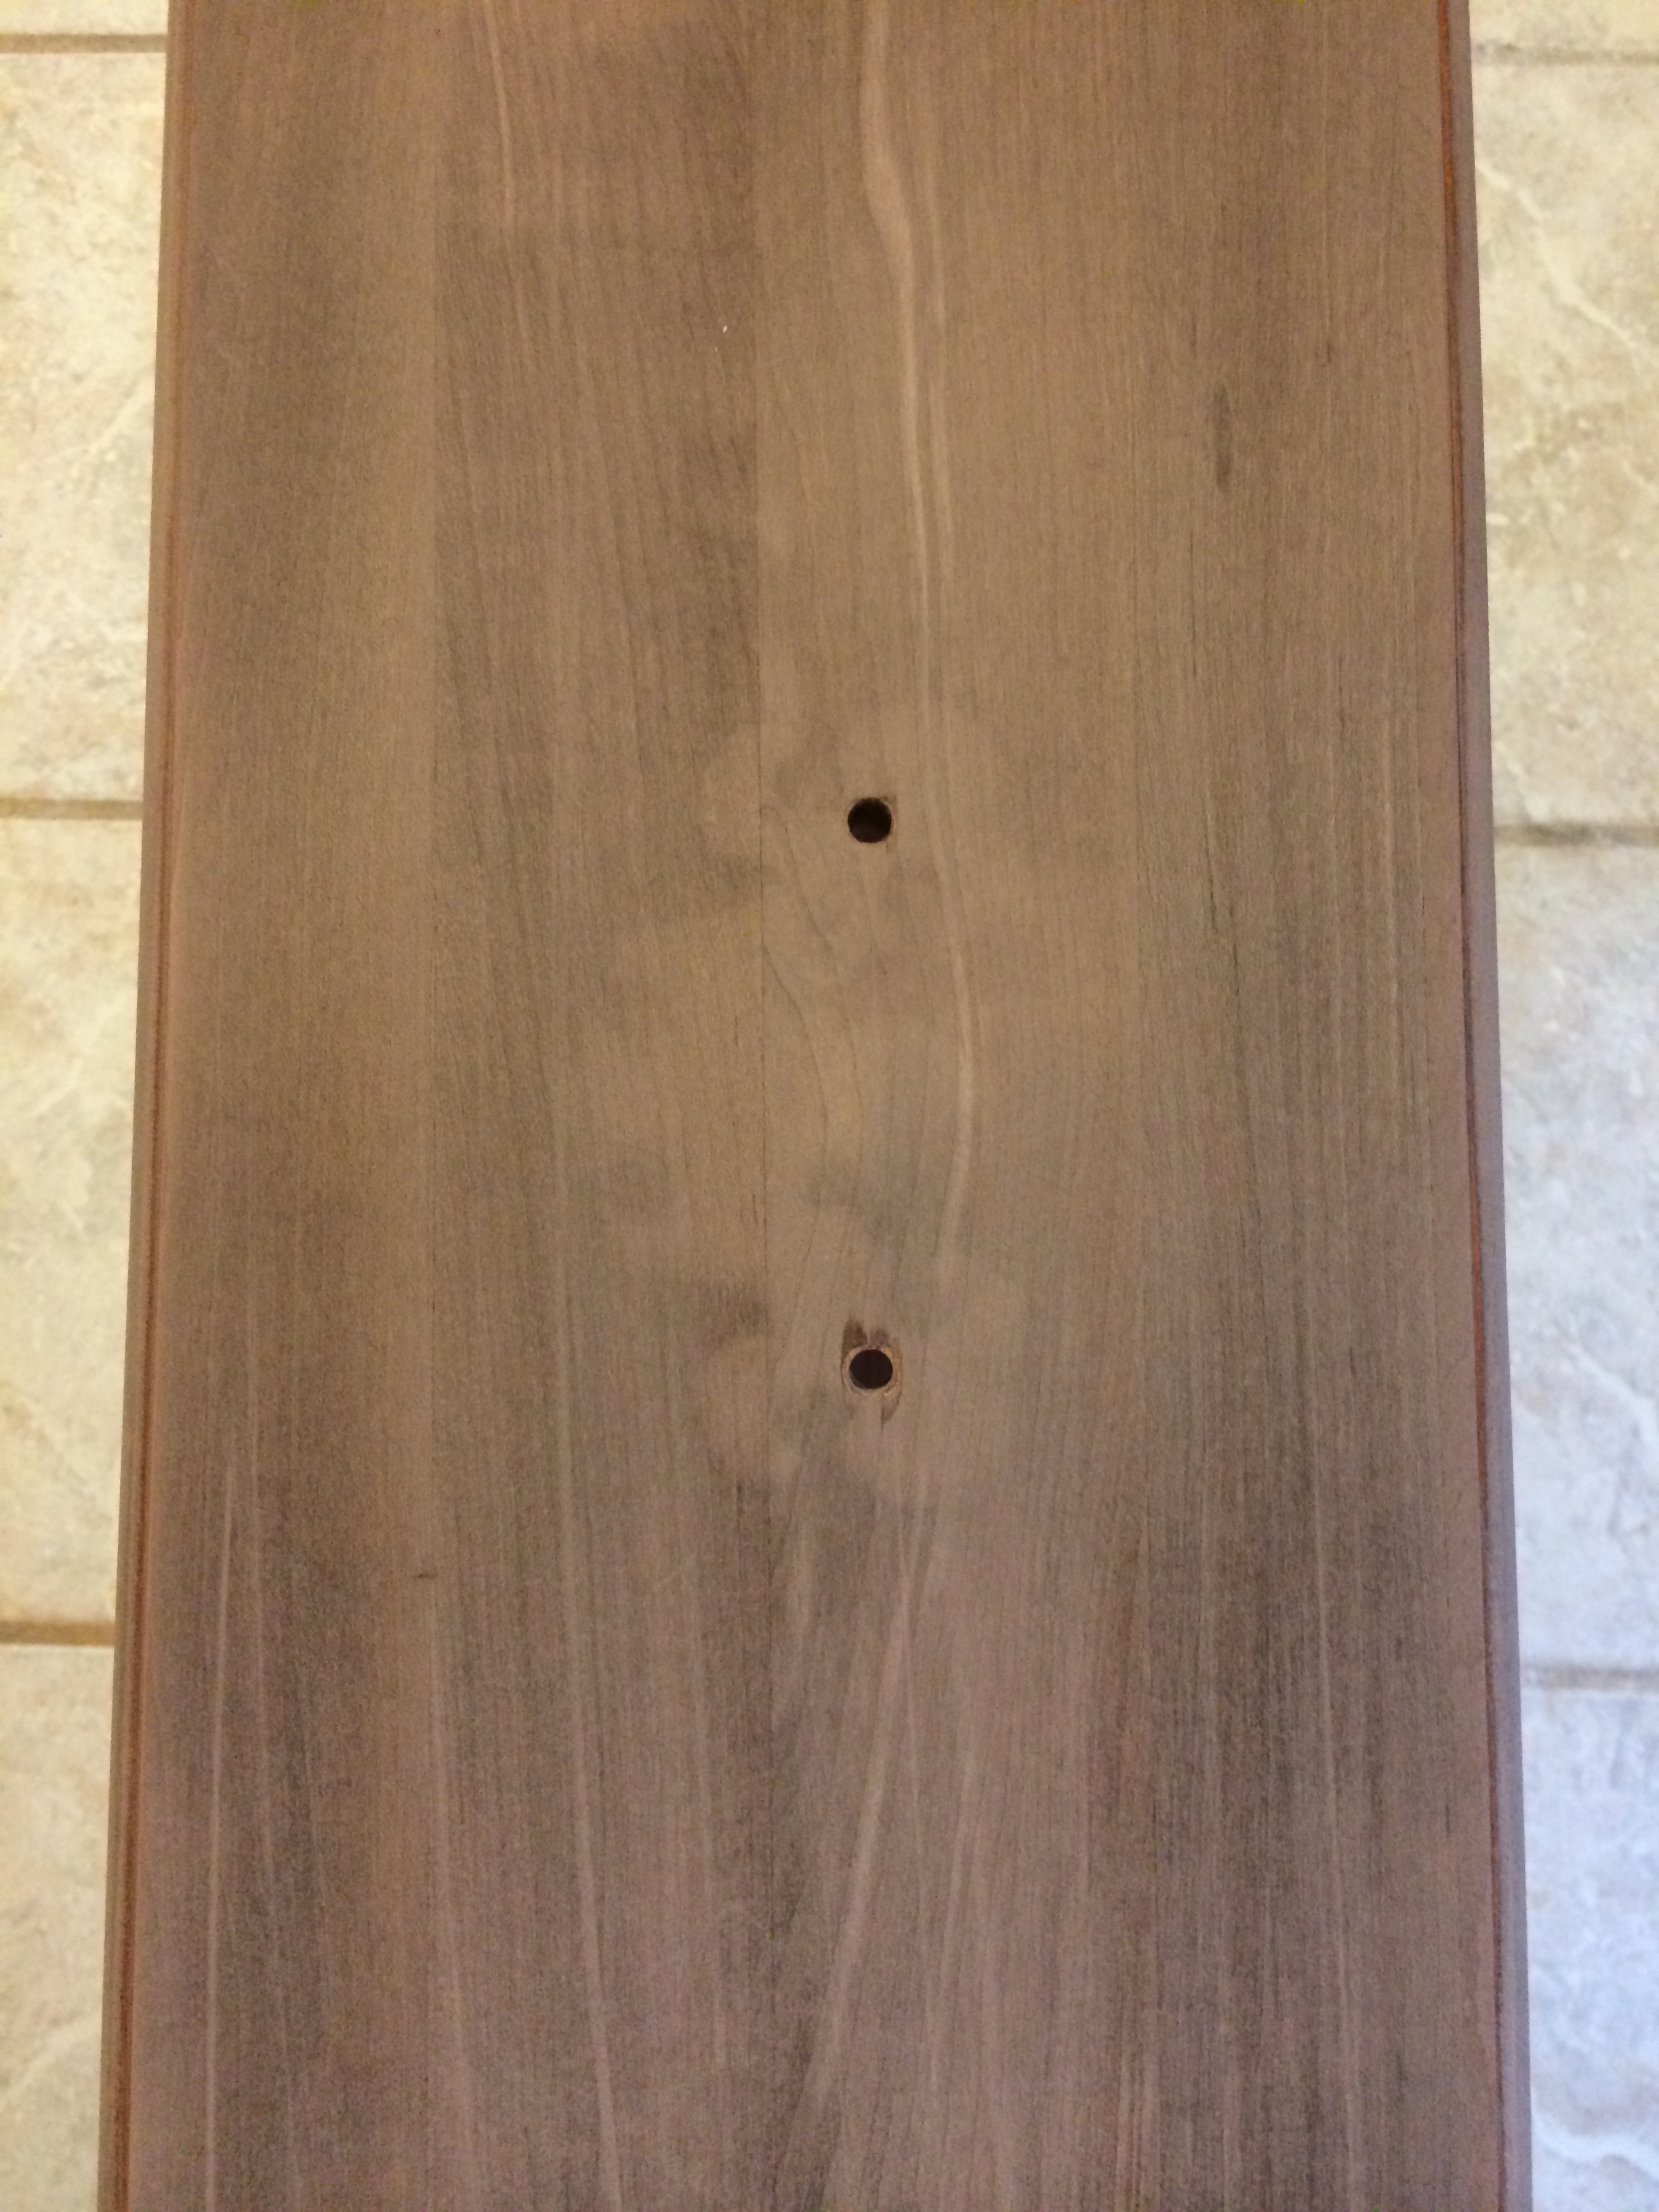
After


Before

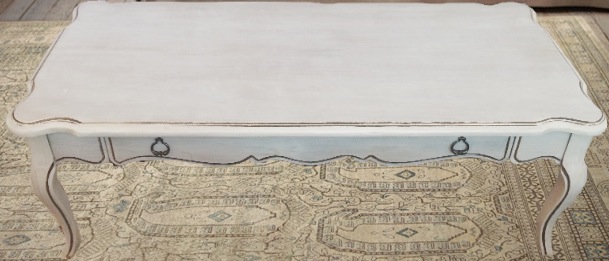
After